Finally, I am starting the production work!
Start by taking the template from the previous article and cutting it out from the mold.
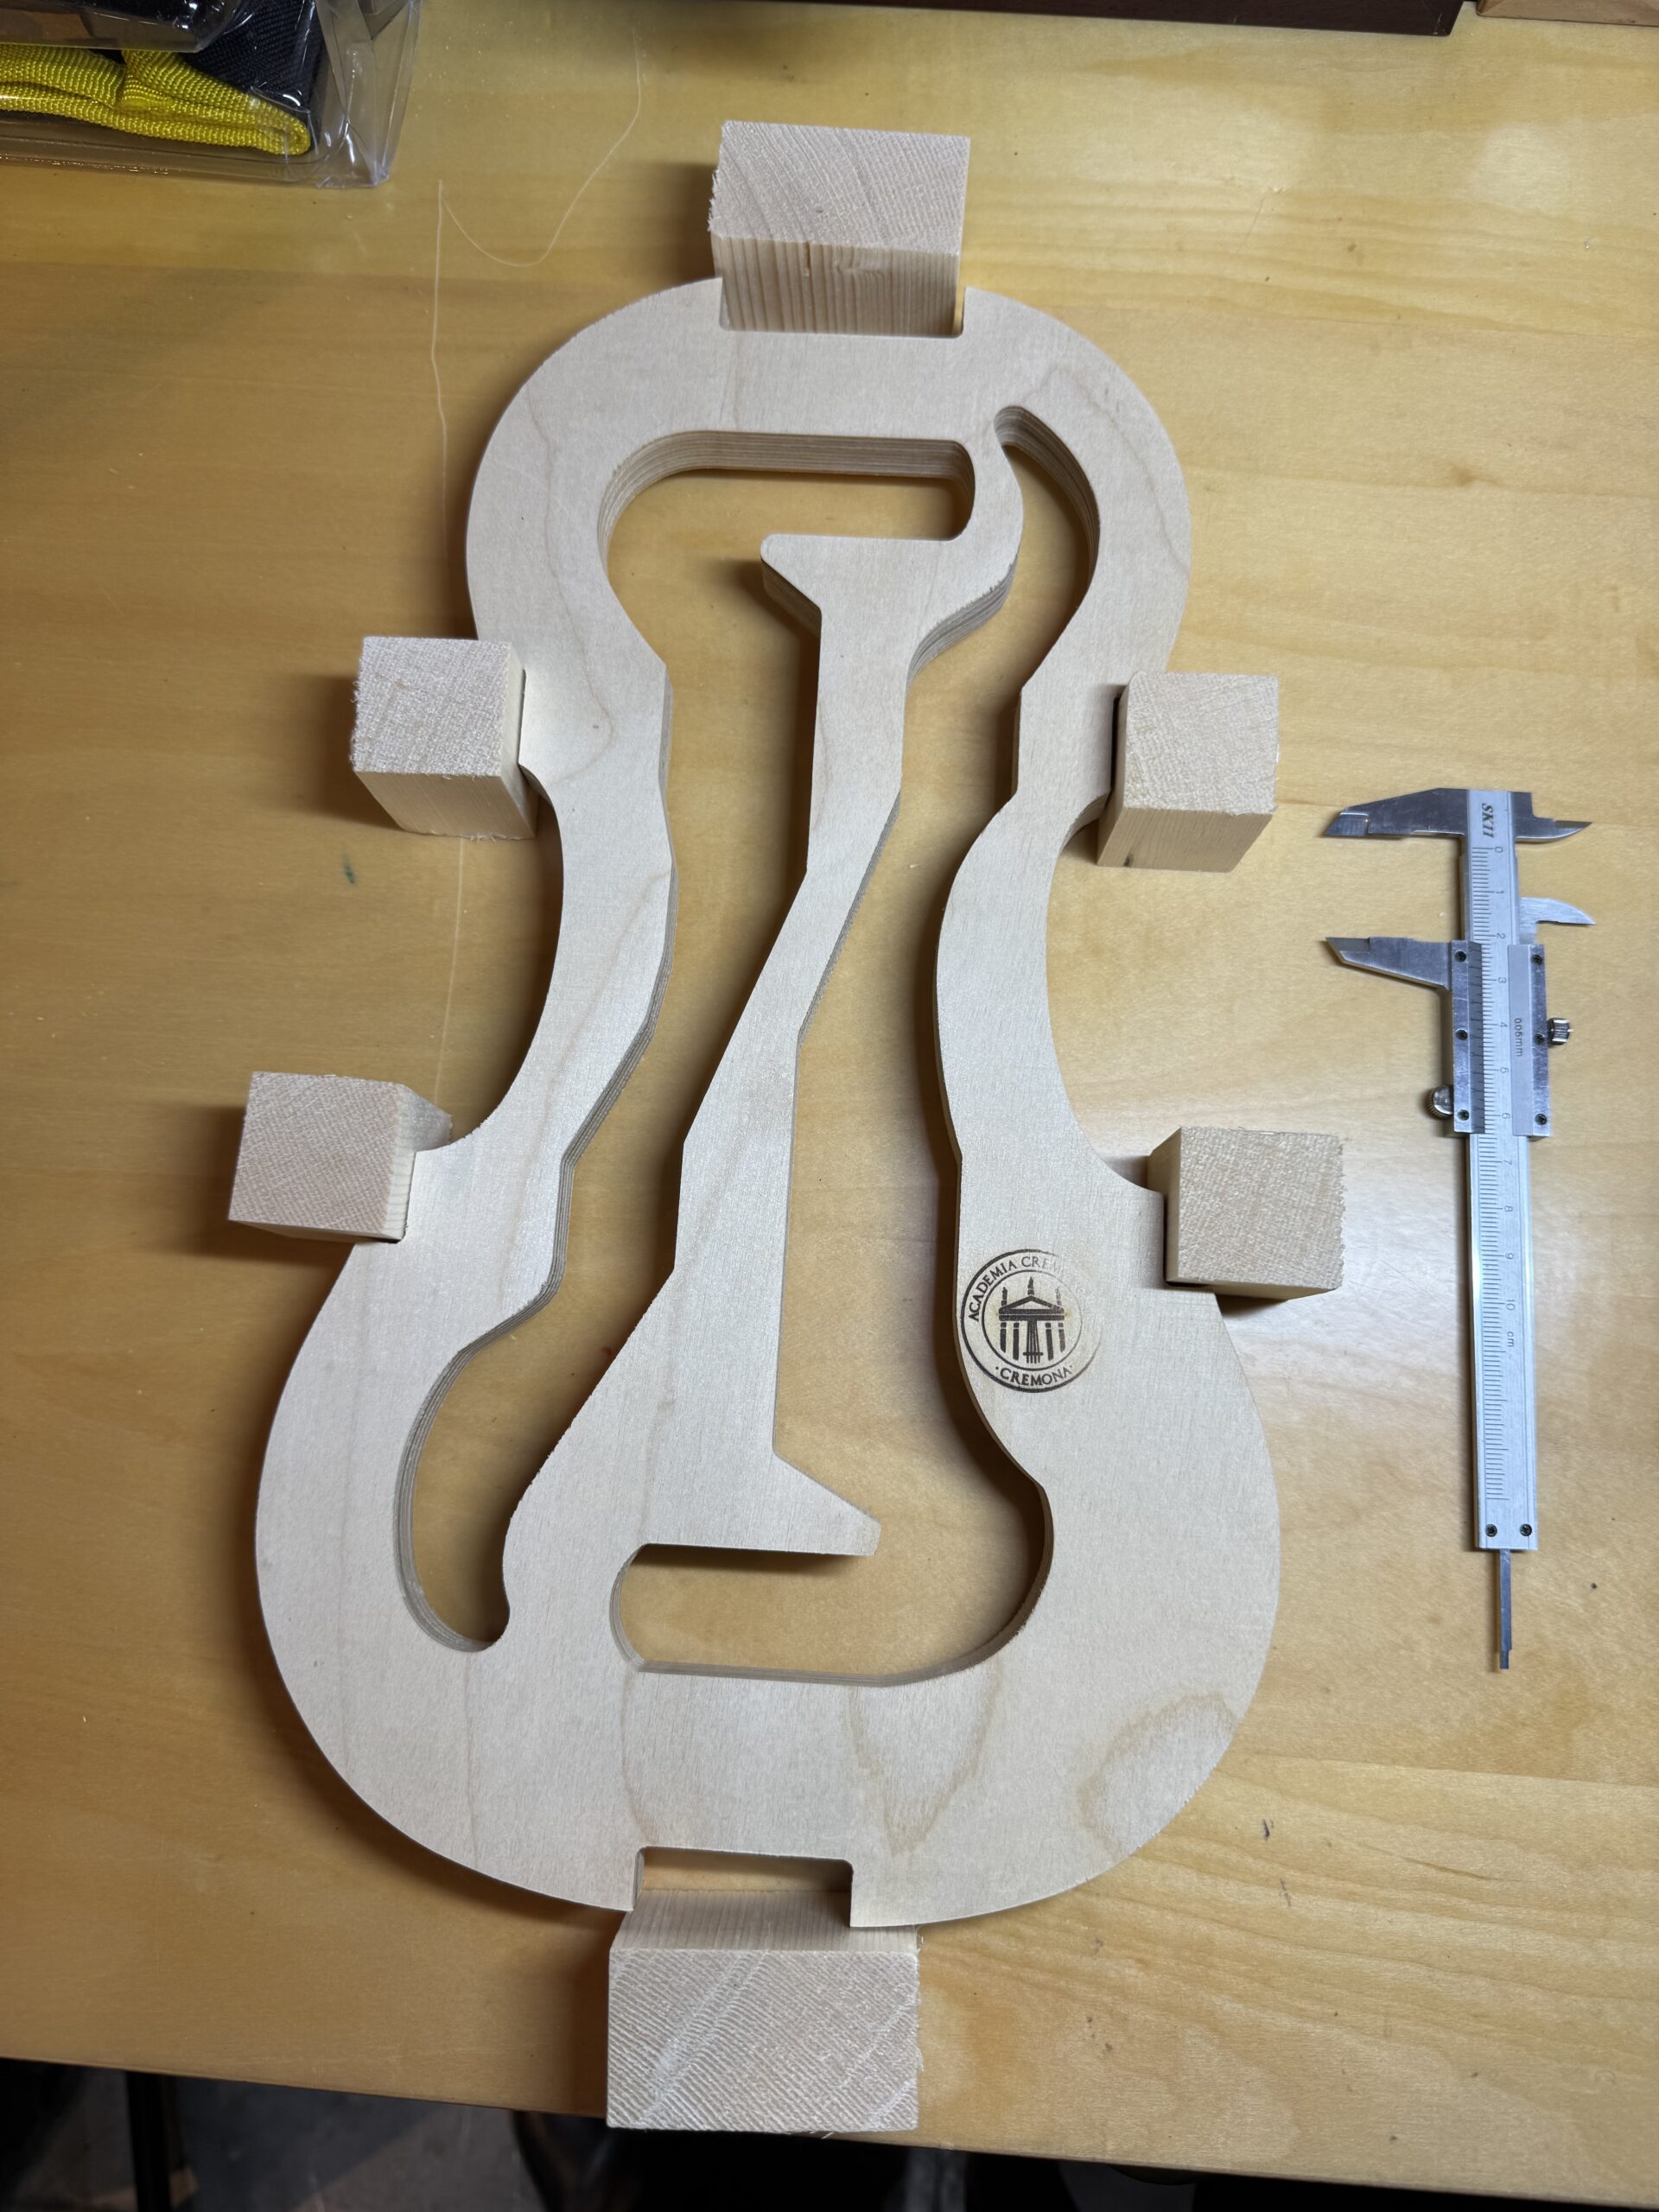
First, I started by cutting and removing the parts that were fixed to the frame. They must have been cut using some kind of machinery. Considering transportation, it probably made sense not to cut everything apart. In the end, I had to separate the final pieces myself.
After cutting, I needed to raise the bottom surface by 8–9mm (the exact measurement varies depending on the source). Some people use spacers like wooden sticks for this, but I chose to insert screws to create the gap. There’s also the option of using punching paper, a method used by piano tuners, which might have been more precise.
By the way, for the background music in the video above, I chose Stéphane Grappelli’s waltz. It’s a masterpiece. 😊
This time, I’m relying on ready-made materials for the project, but eventually, I’d like to learn how to make the molds themselves.
I’ve taken the first step! Next is the corner block. For that, I plan to find some scrap wood and do a practice run first.
いよいよ製作作業を始めていきます!
先日の記事で取り上げたテンプレートを取り出し、型から切り出すところから始めます。
まずは枠に固定されている方を切って外す作業から。機械などでカットしたのでしょうね。輸送などを考えると全部切り離さない方がよかったのでしょう。最後は自分で切り離します。
切った後は、下面を8〜9mm(資料によって違う)浮かせるとのことで、下にスペーサー(木の棒など)を置いたりもするようですが、自分はネジを差し込んで浮かせました。ピアノ調律師らしくパンチングペーパーという手もありました。そっちの方が正確だったかも。
ちなみに⬆️この動画のBGMにはステファン・グラッペリのワルツを選びました。名曲です😊
今回は既成品を頼って作業しますが、ゆくゆくは型自体も作れるようになりたいです。
一歩を踏み出しました!次はコーナーブロックですが、これも何か端材を見つけて一回練習しようと思います。