Category: violinmaking
-
The lower and upper ribs
After cutting the corner blocks and upper and lower blocks, it is now time to bend the ribs. この投稿をInstagramで見る Kaccho’s Violin(@kacchovn)がシェアした投稿 Bending the ribs isn’t really a hard task, but fitting them to the corner blocks is difficult. The ribs, the corner blocks and the clamping blocks must fit perfectly each other. I must find…
Written by
-
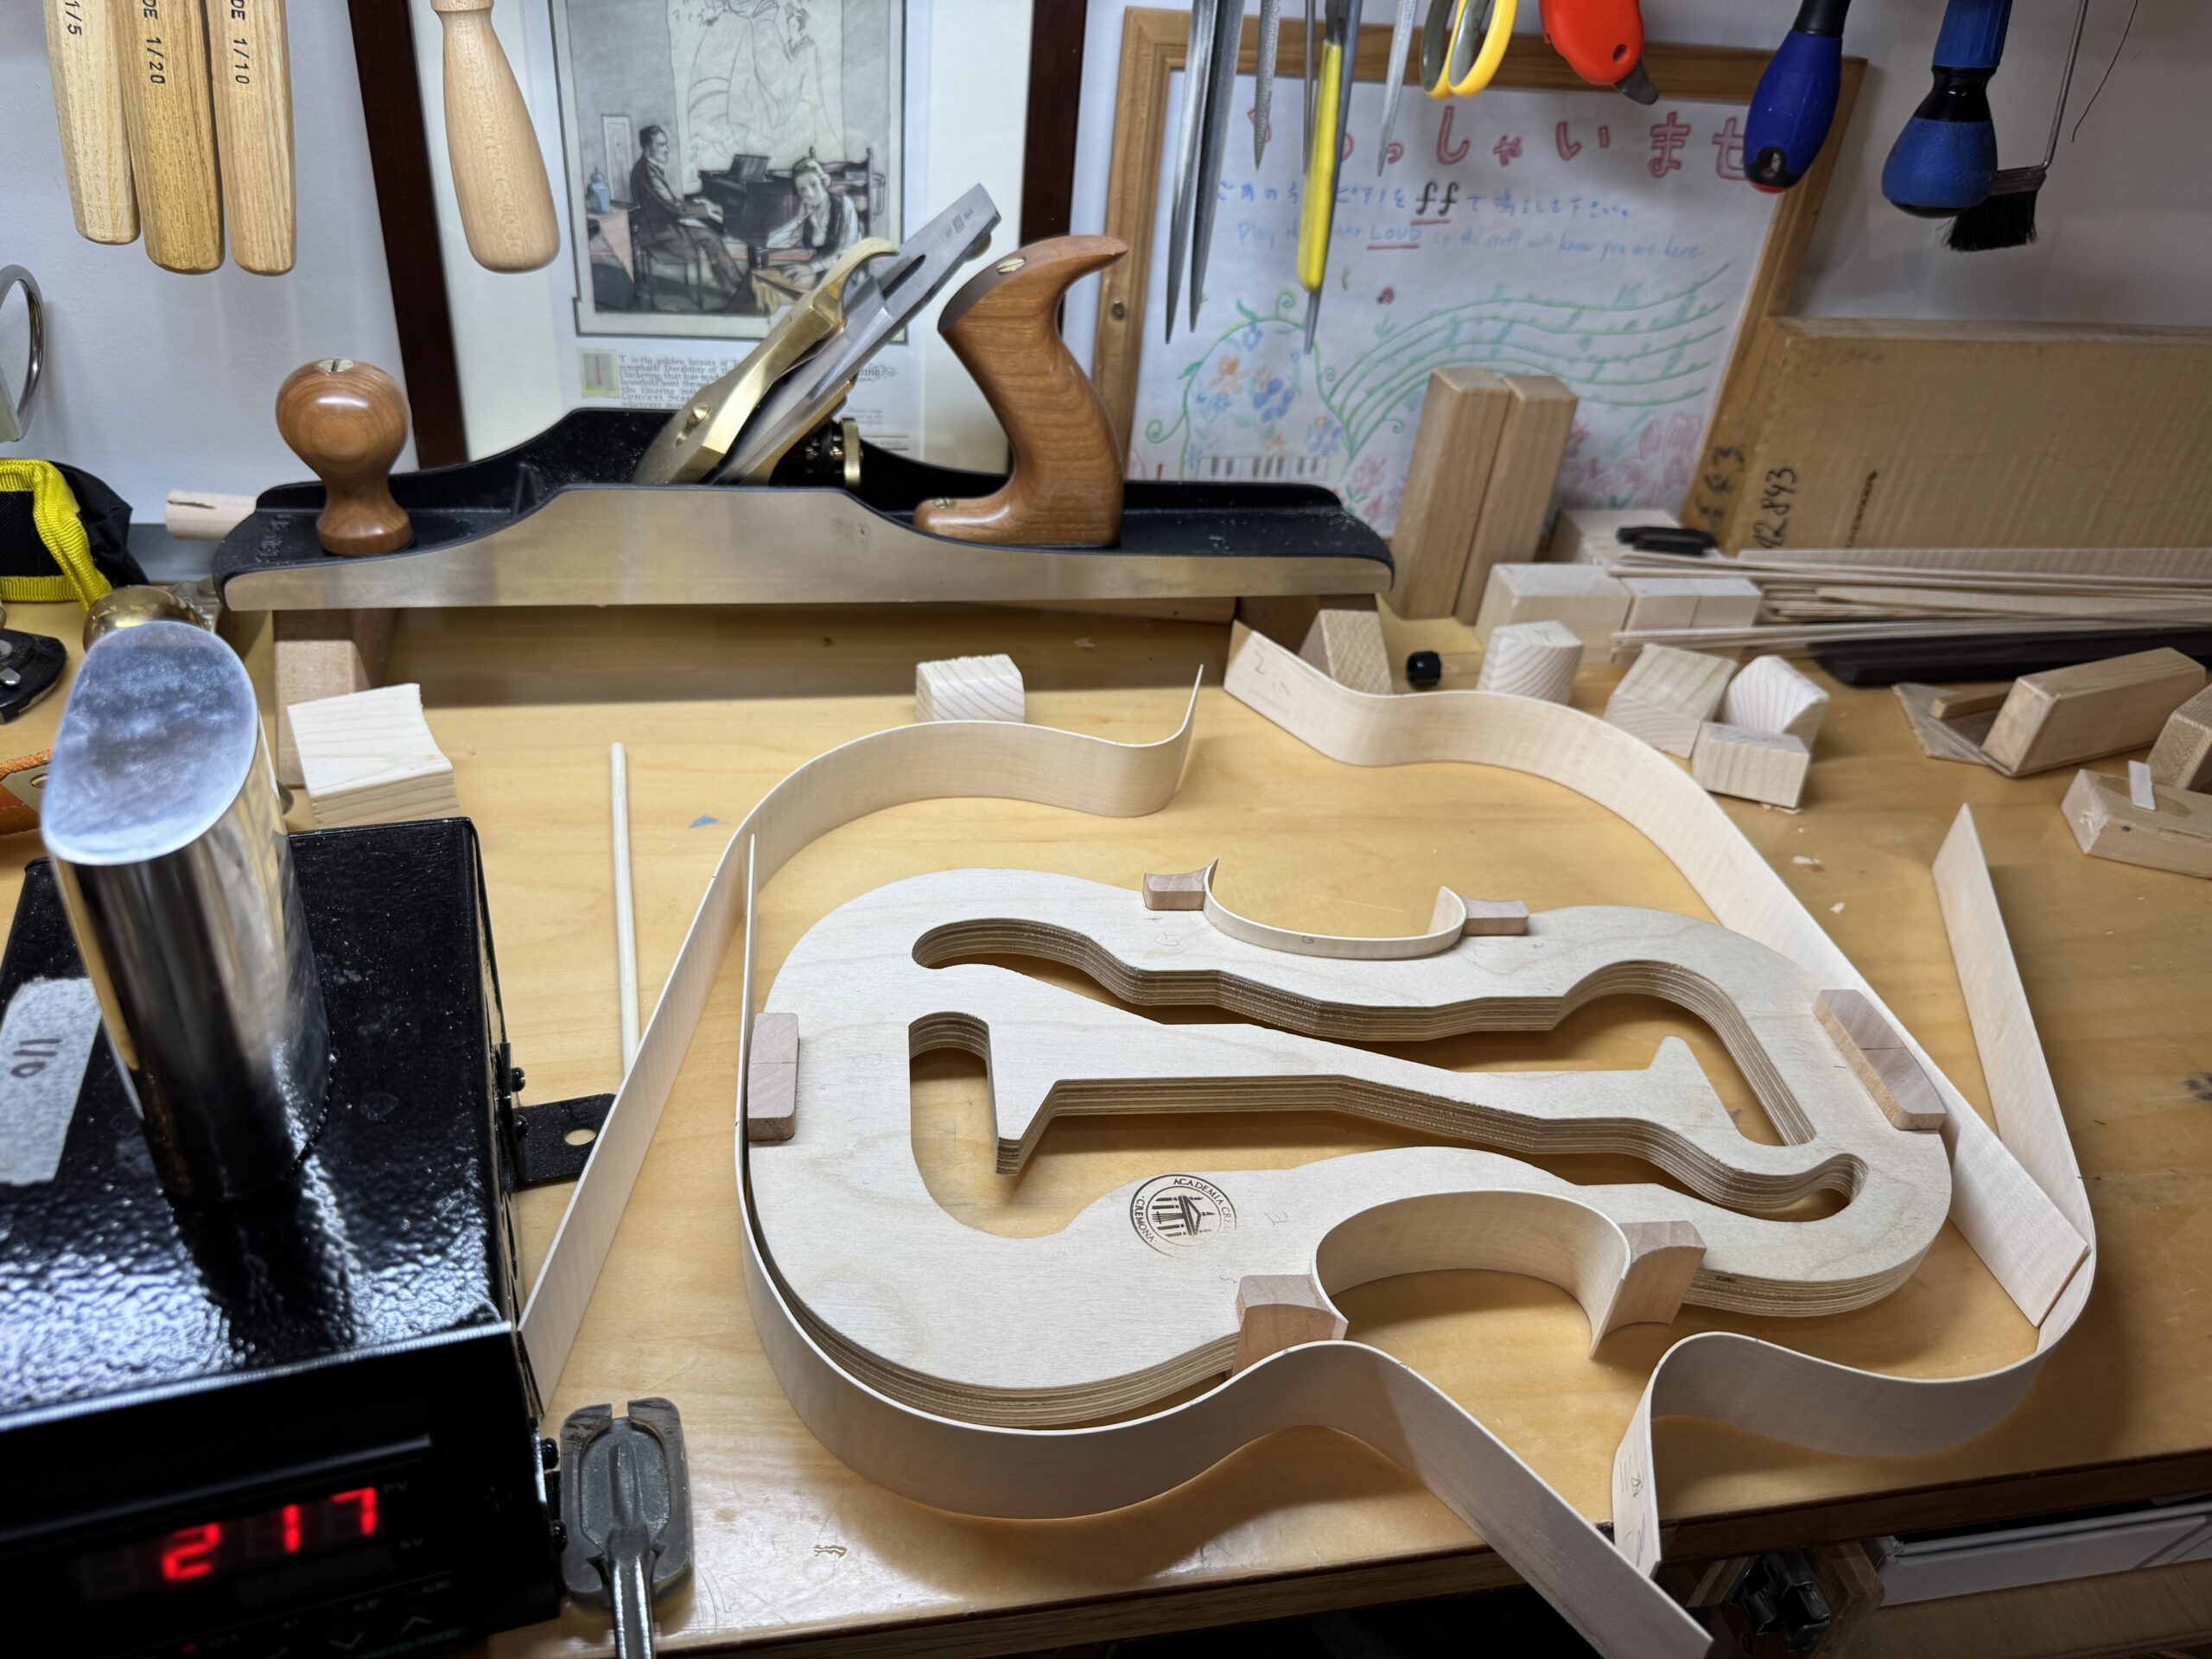
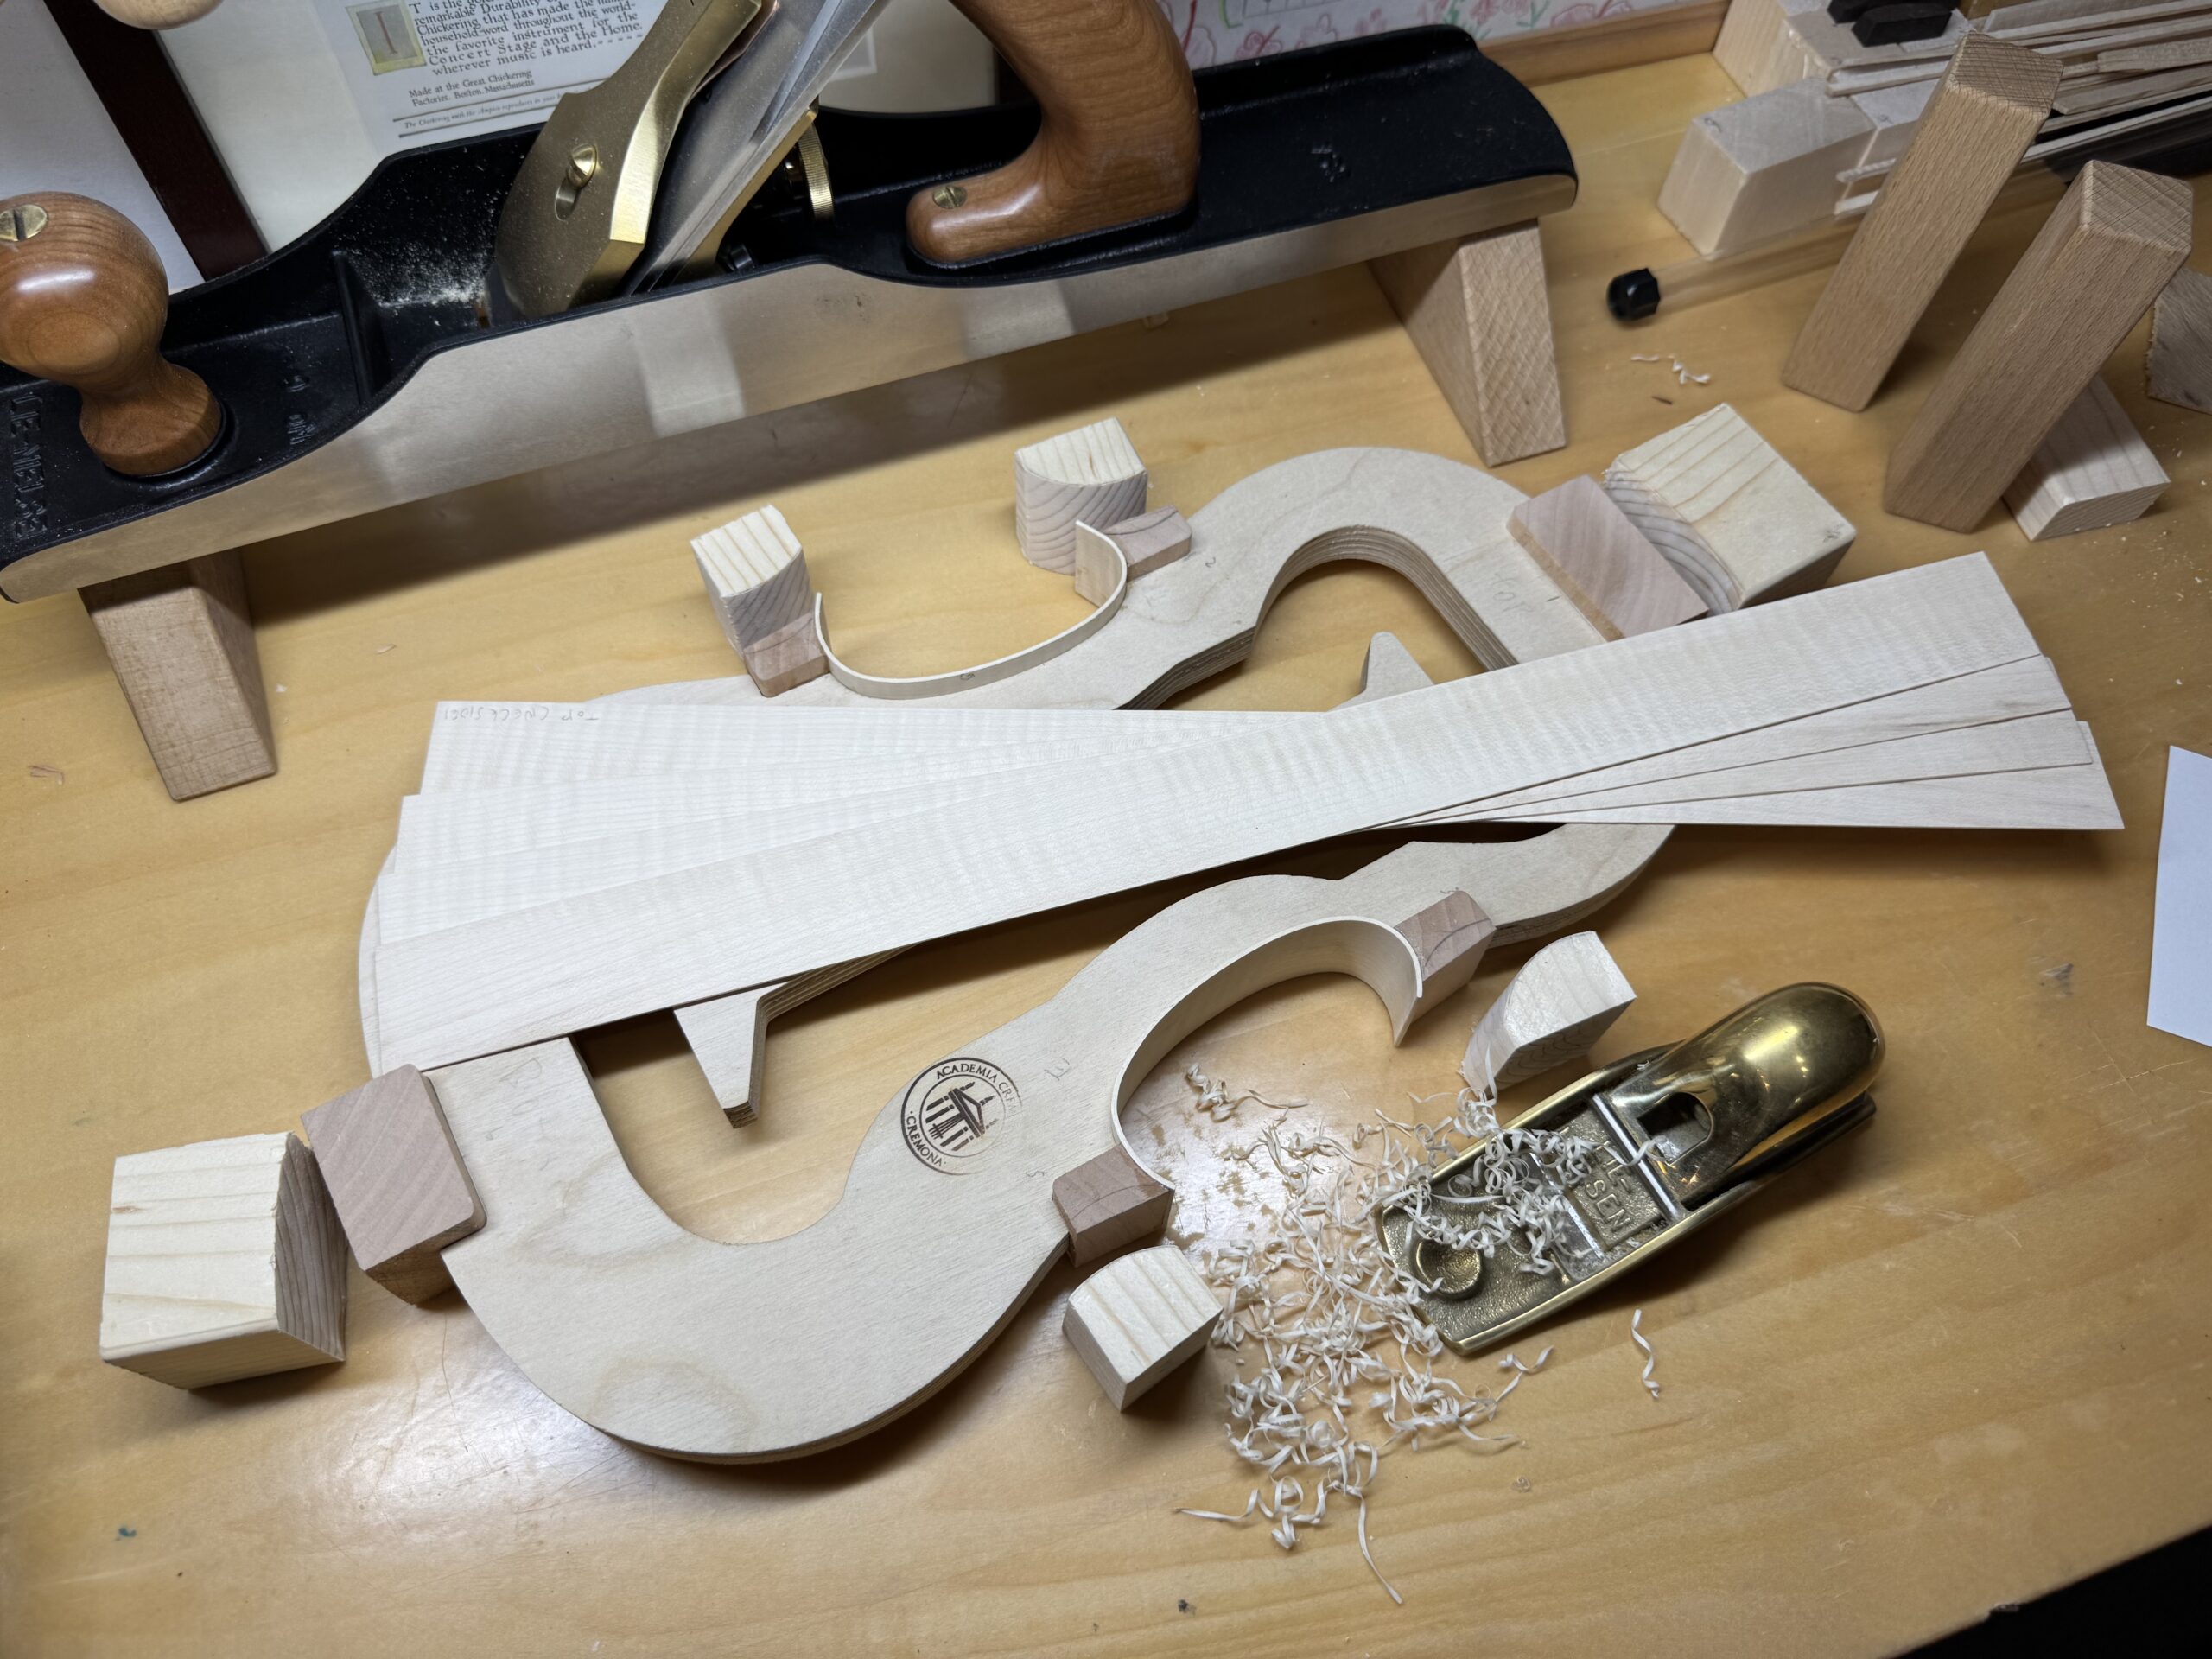
The C Bouts Trimmed and More Clamping Blocks
The C Bouts were glued and the clamps were removed. To prepare for the upper and bottom ribs, the clamping blocks are needed. The book says hard wood was used for the blocks. Instead, my choice was to use home center white wood and cut it so the grain presses the corner block perpendicularly. View…
Written by
-
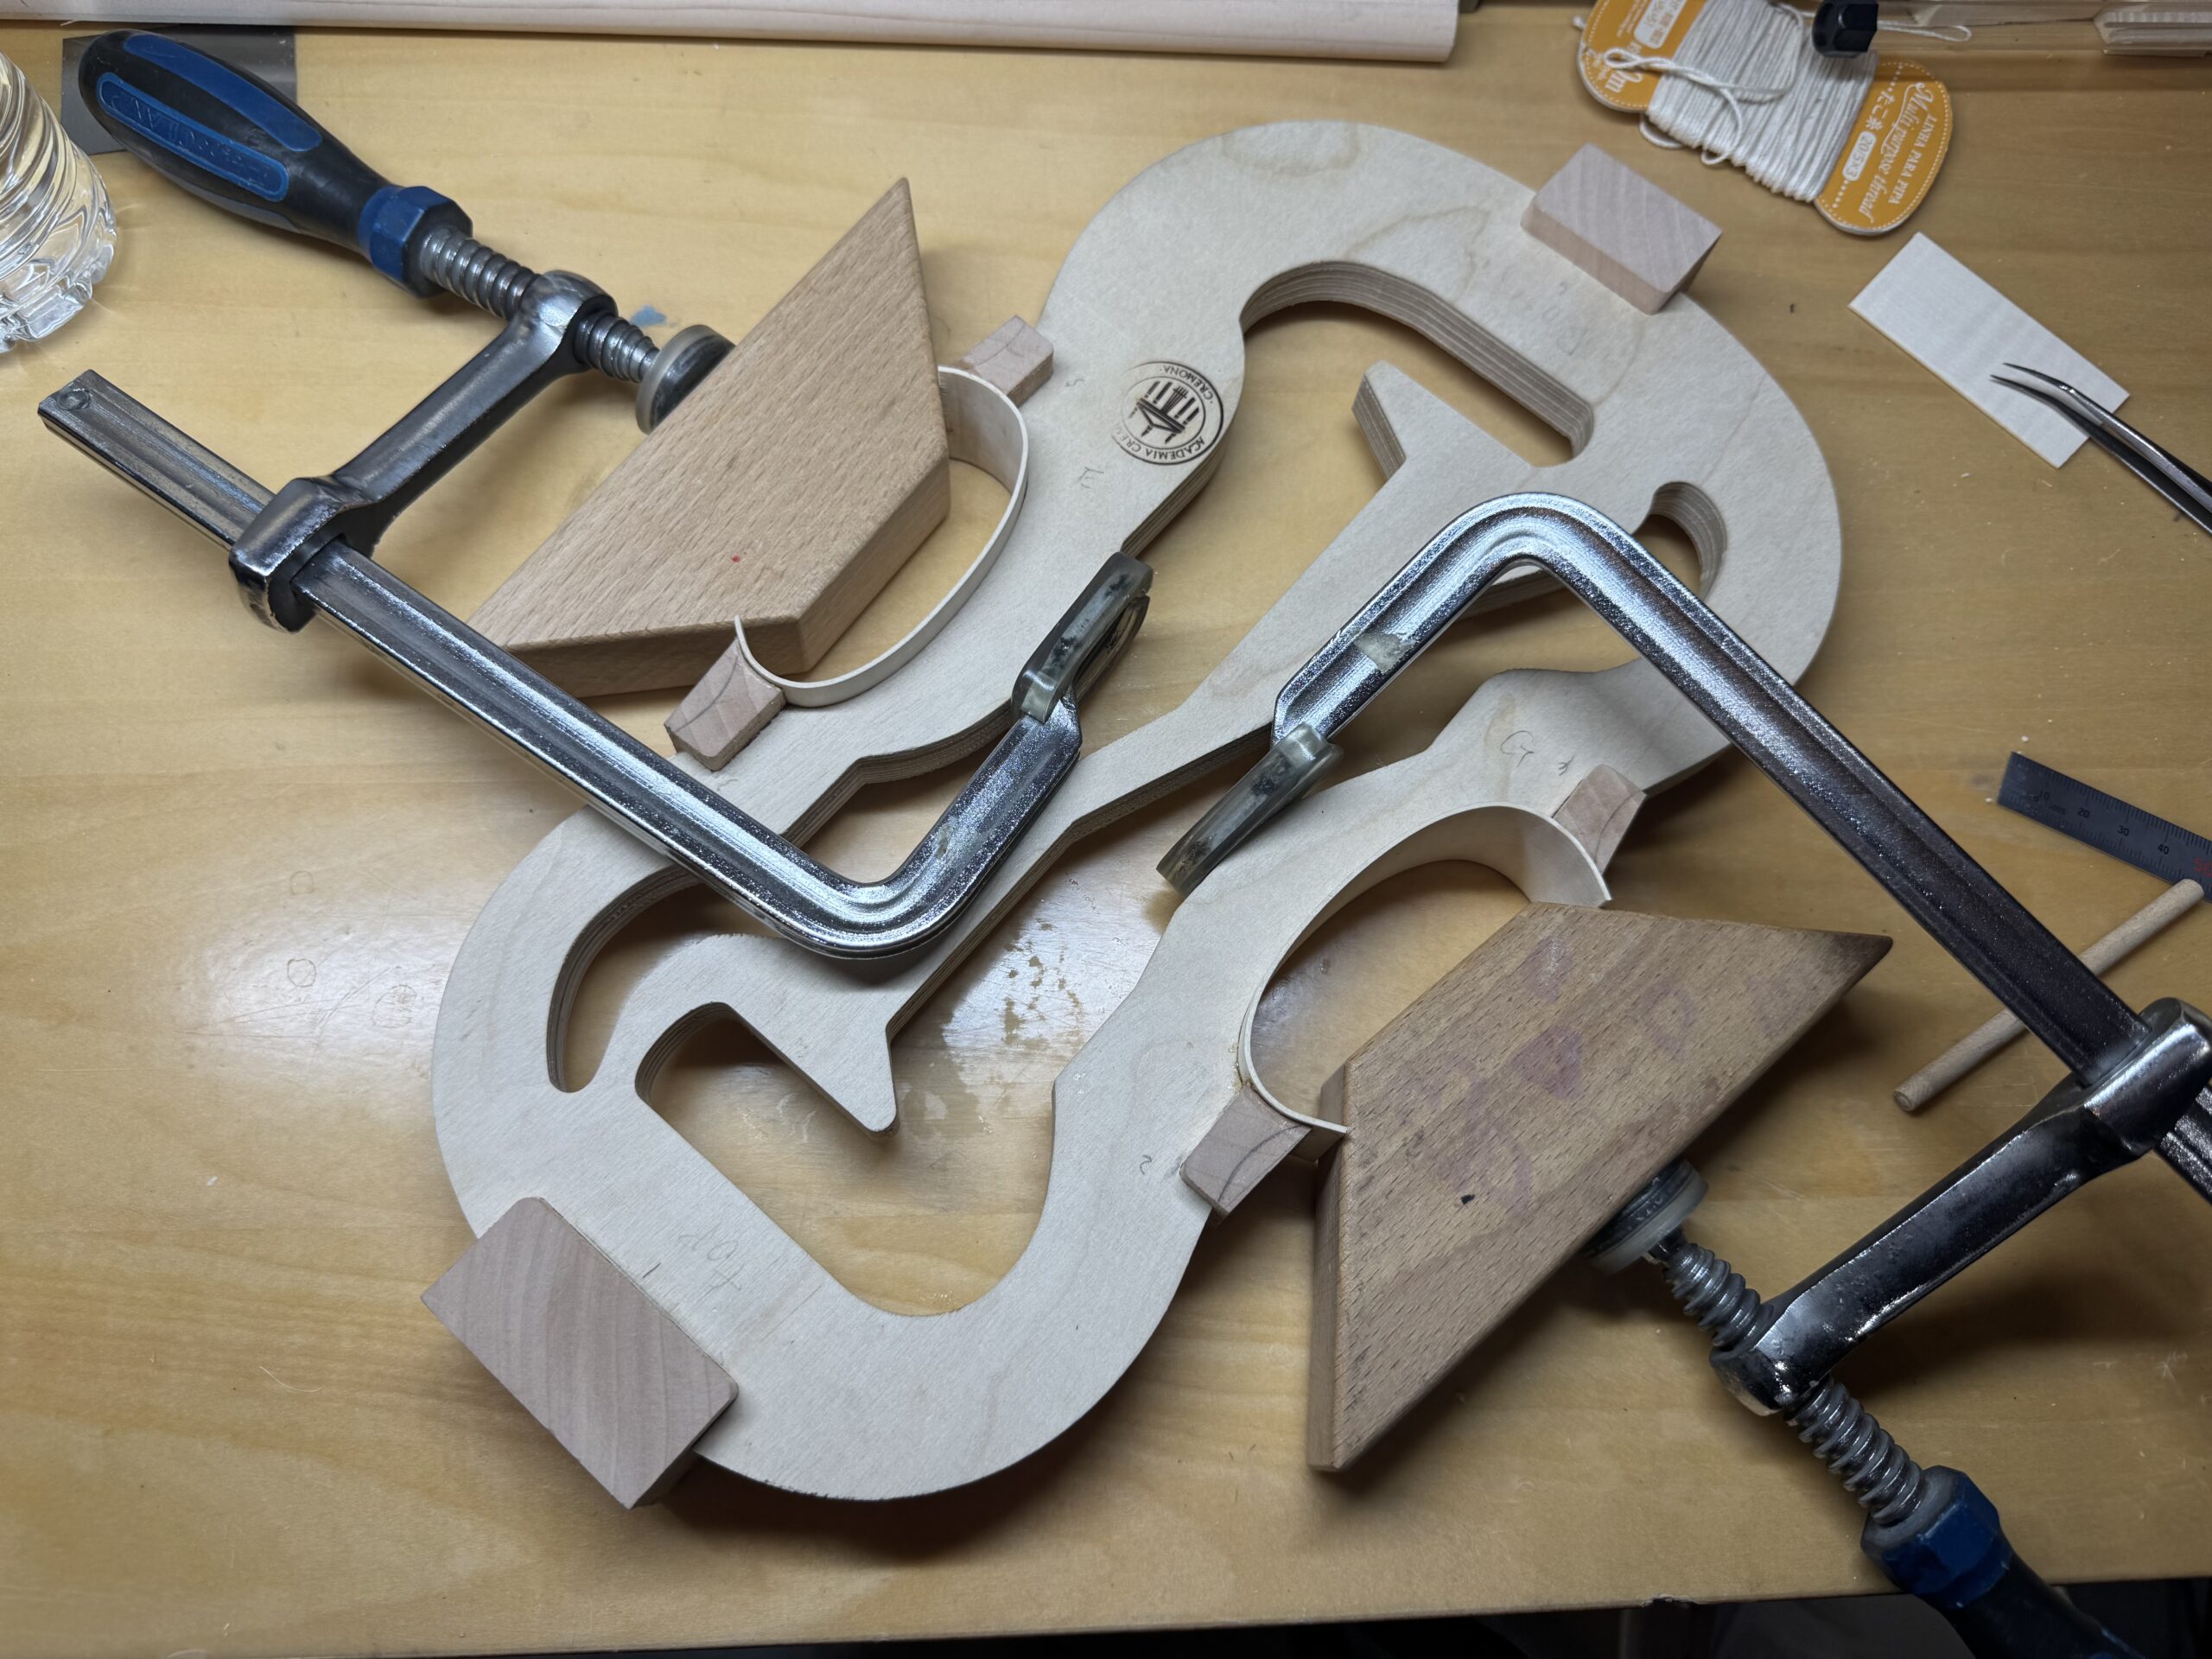
C Bouts Ribs Glued
This was a long way to reach to this point: the first glue to parts that form the body of the violin(the corner blocks were glued to the mould which will be detached later). This is exciting that the part of the violin is really built! Actually, I failed once when the animal glue condition…
Written by
-
Bending the C Ribs
Although I practiced this with some wood from home center, it would have been a very thrilling and sensitive job for me since it uses heat which may burn the wood and too much pressure may break the rib. Indeed it was different. The wood from home center was lighter and softer thus bending was…
Written by
-
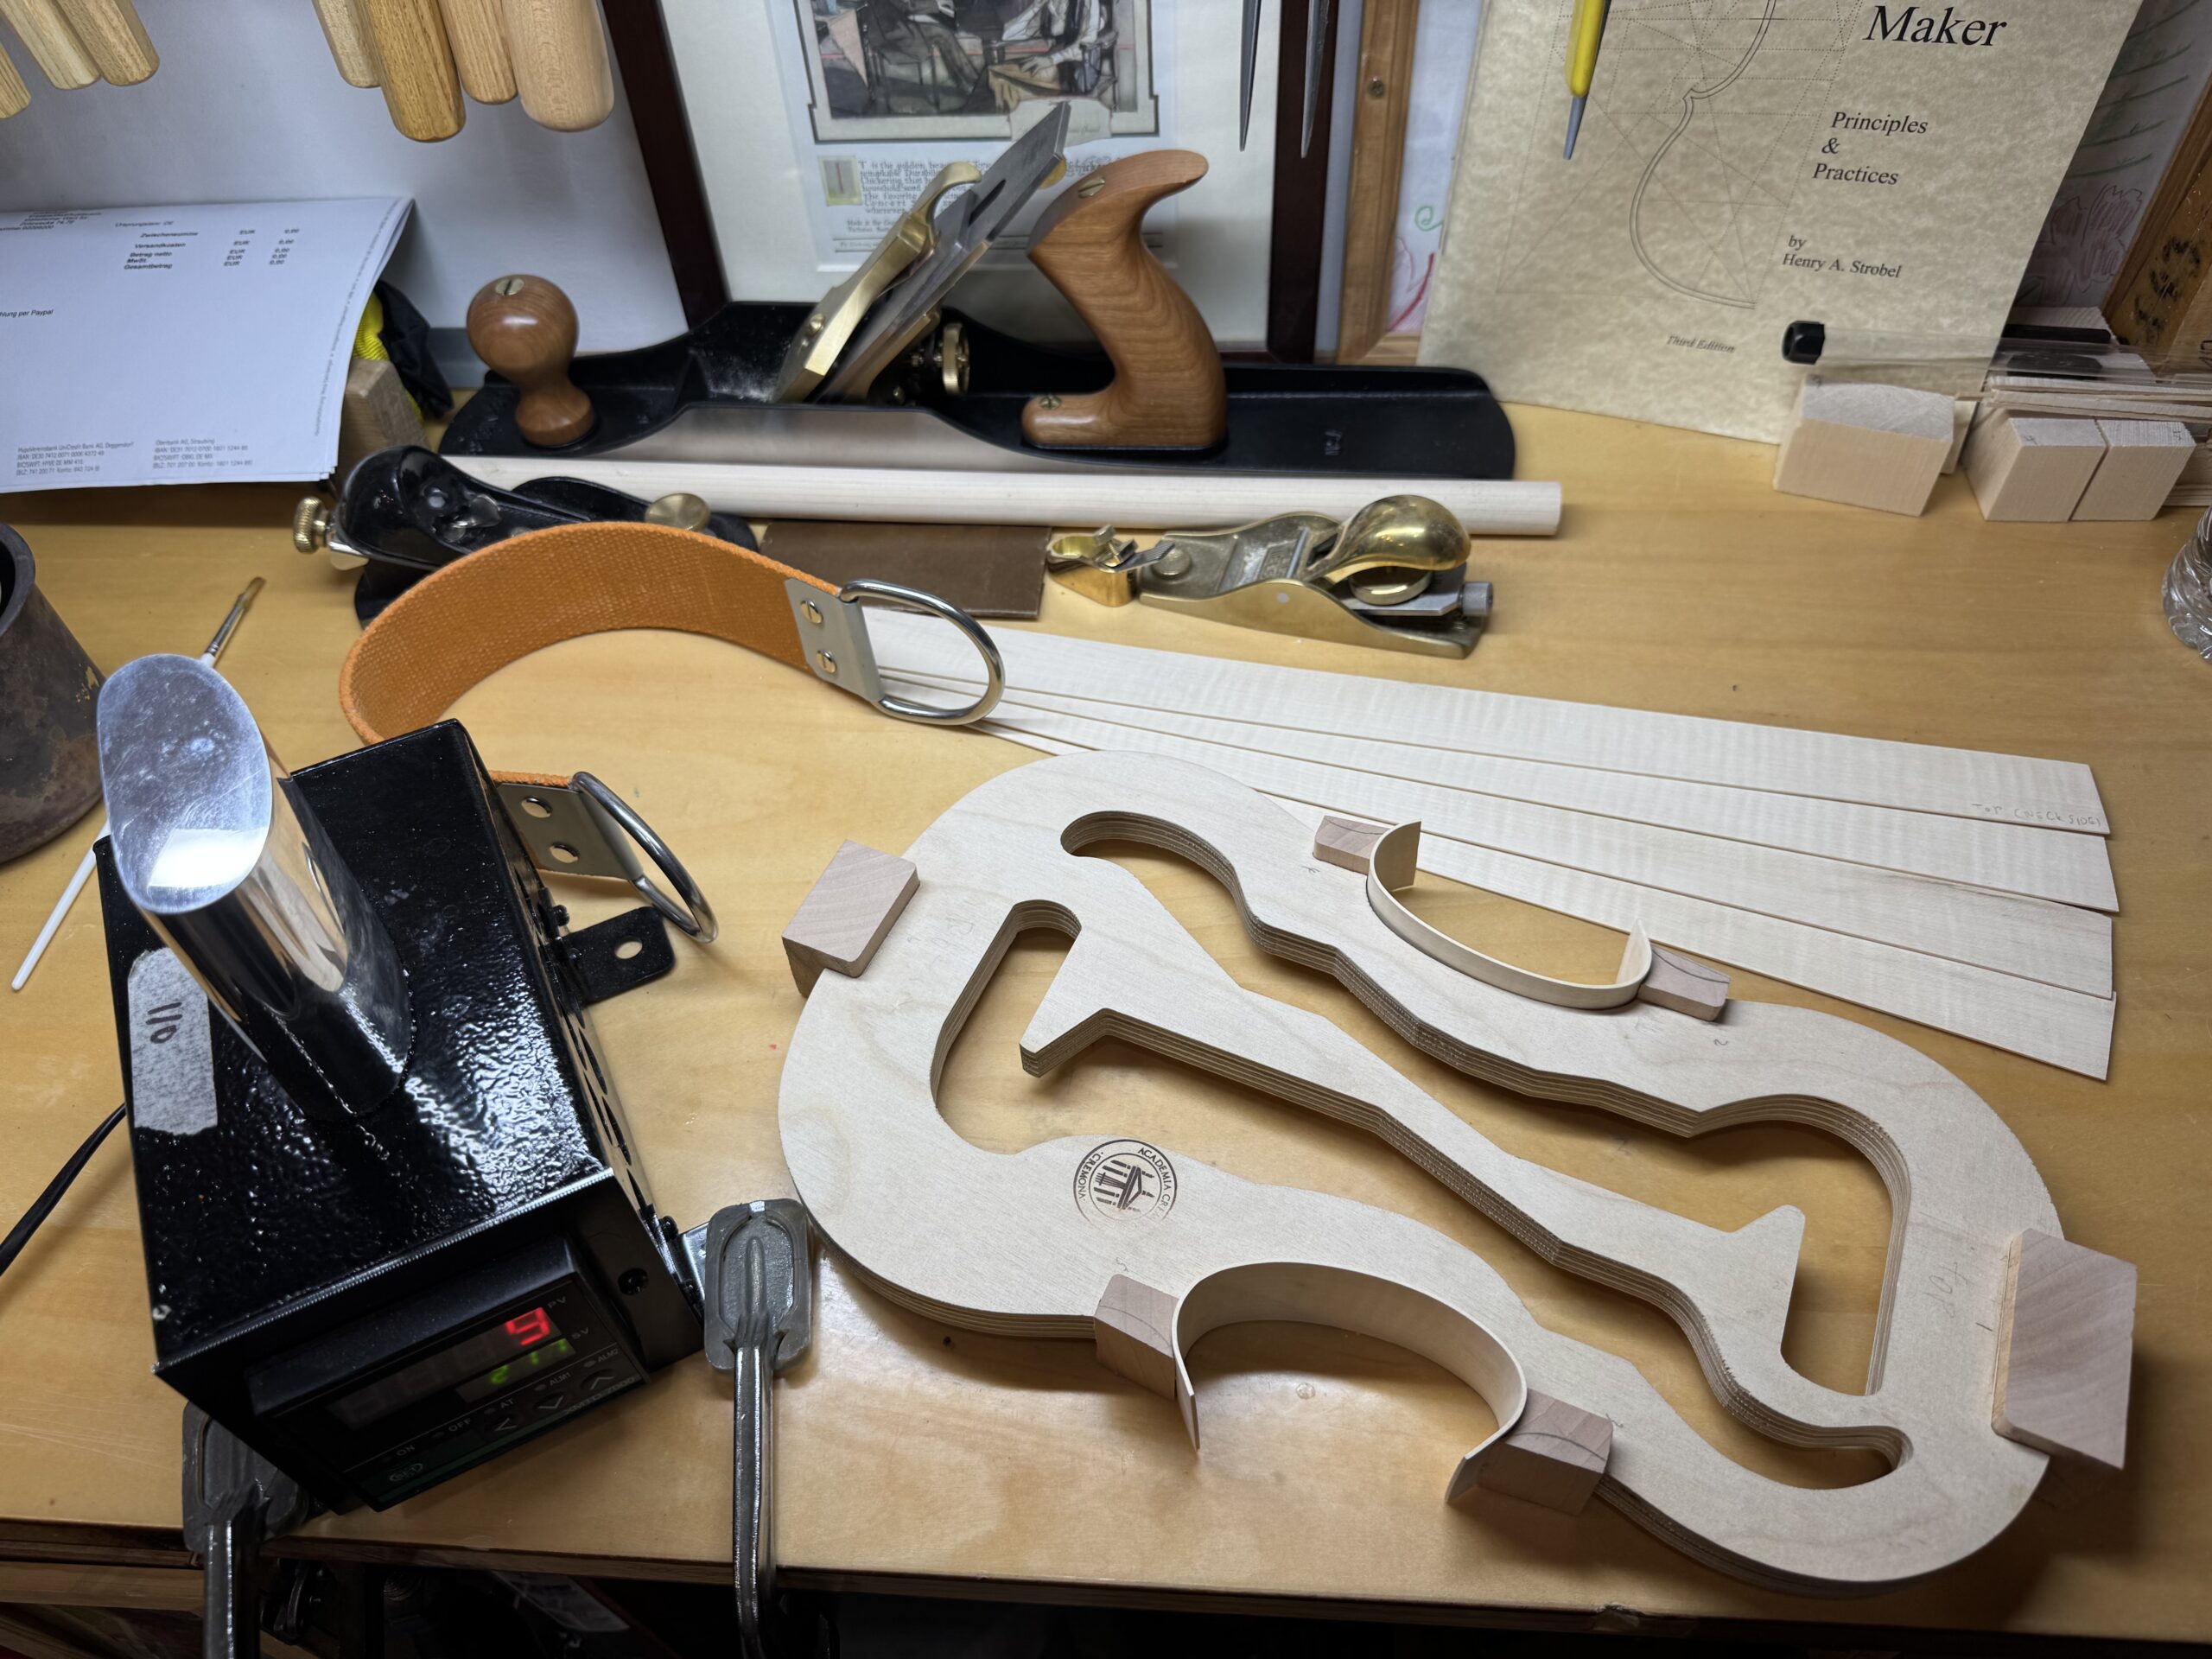
The Rib Thickness
After trimming the edges of the rim to make them into certain width, now the thickness. This was a lot of work. I never thought trimming just 0.8mm would be such a long distance! I used toothed blade plain first, sandpaper to remove the grooved surface, and scraper to finish. Next work will be bending…
Written by
-
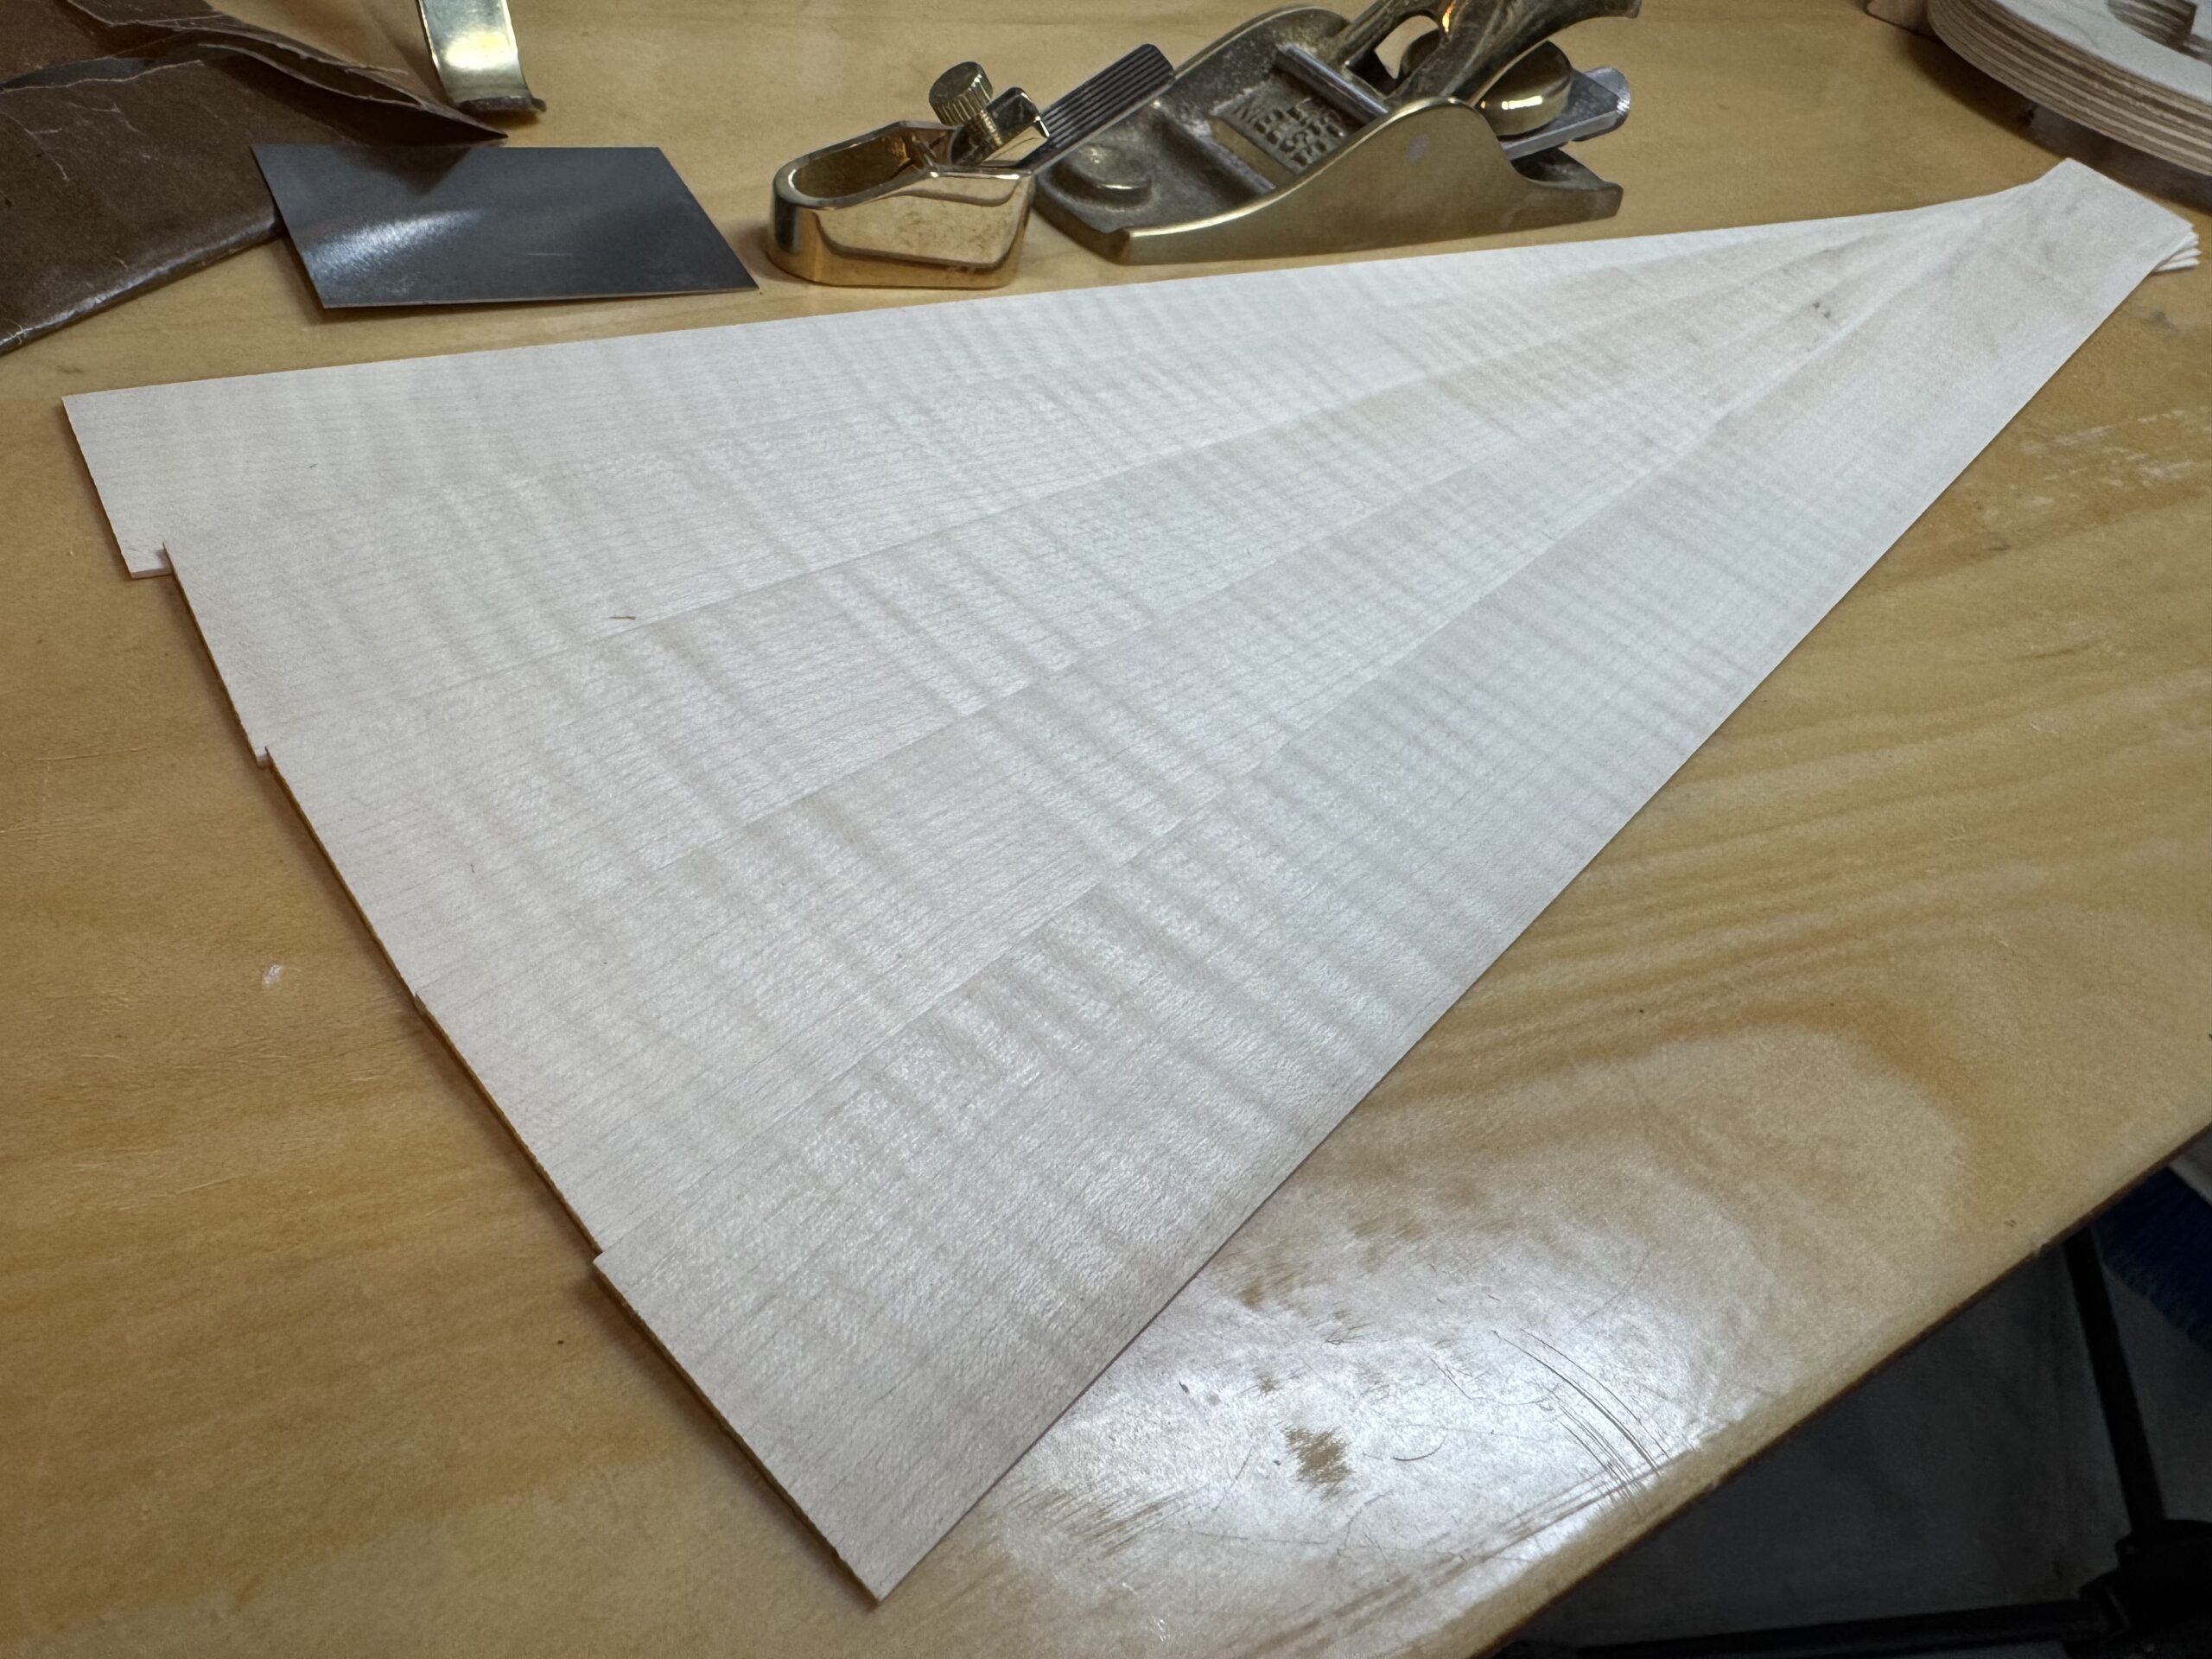
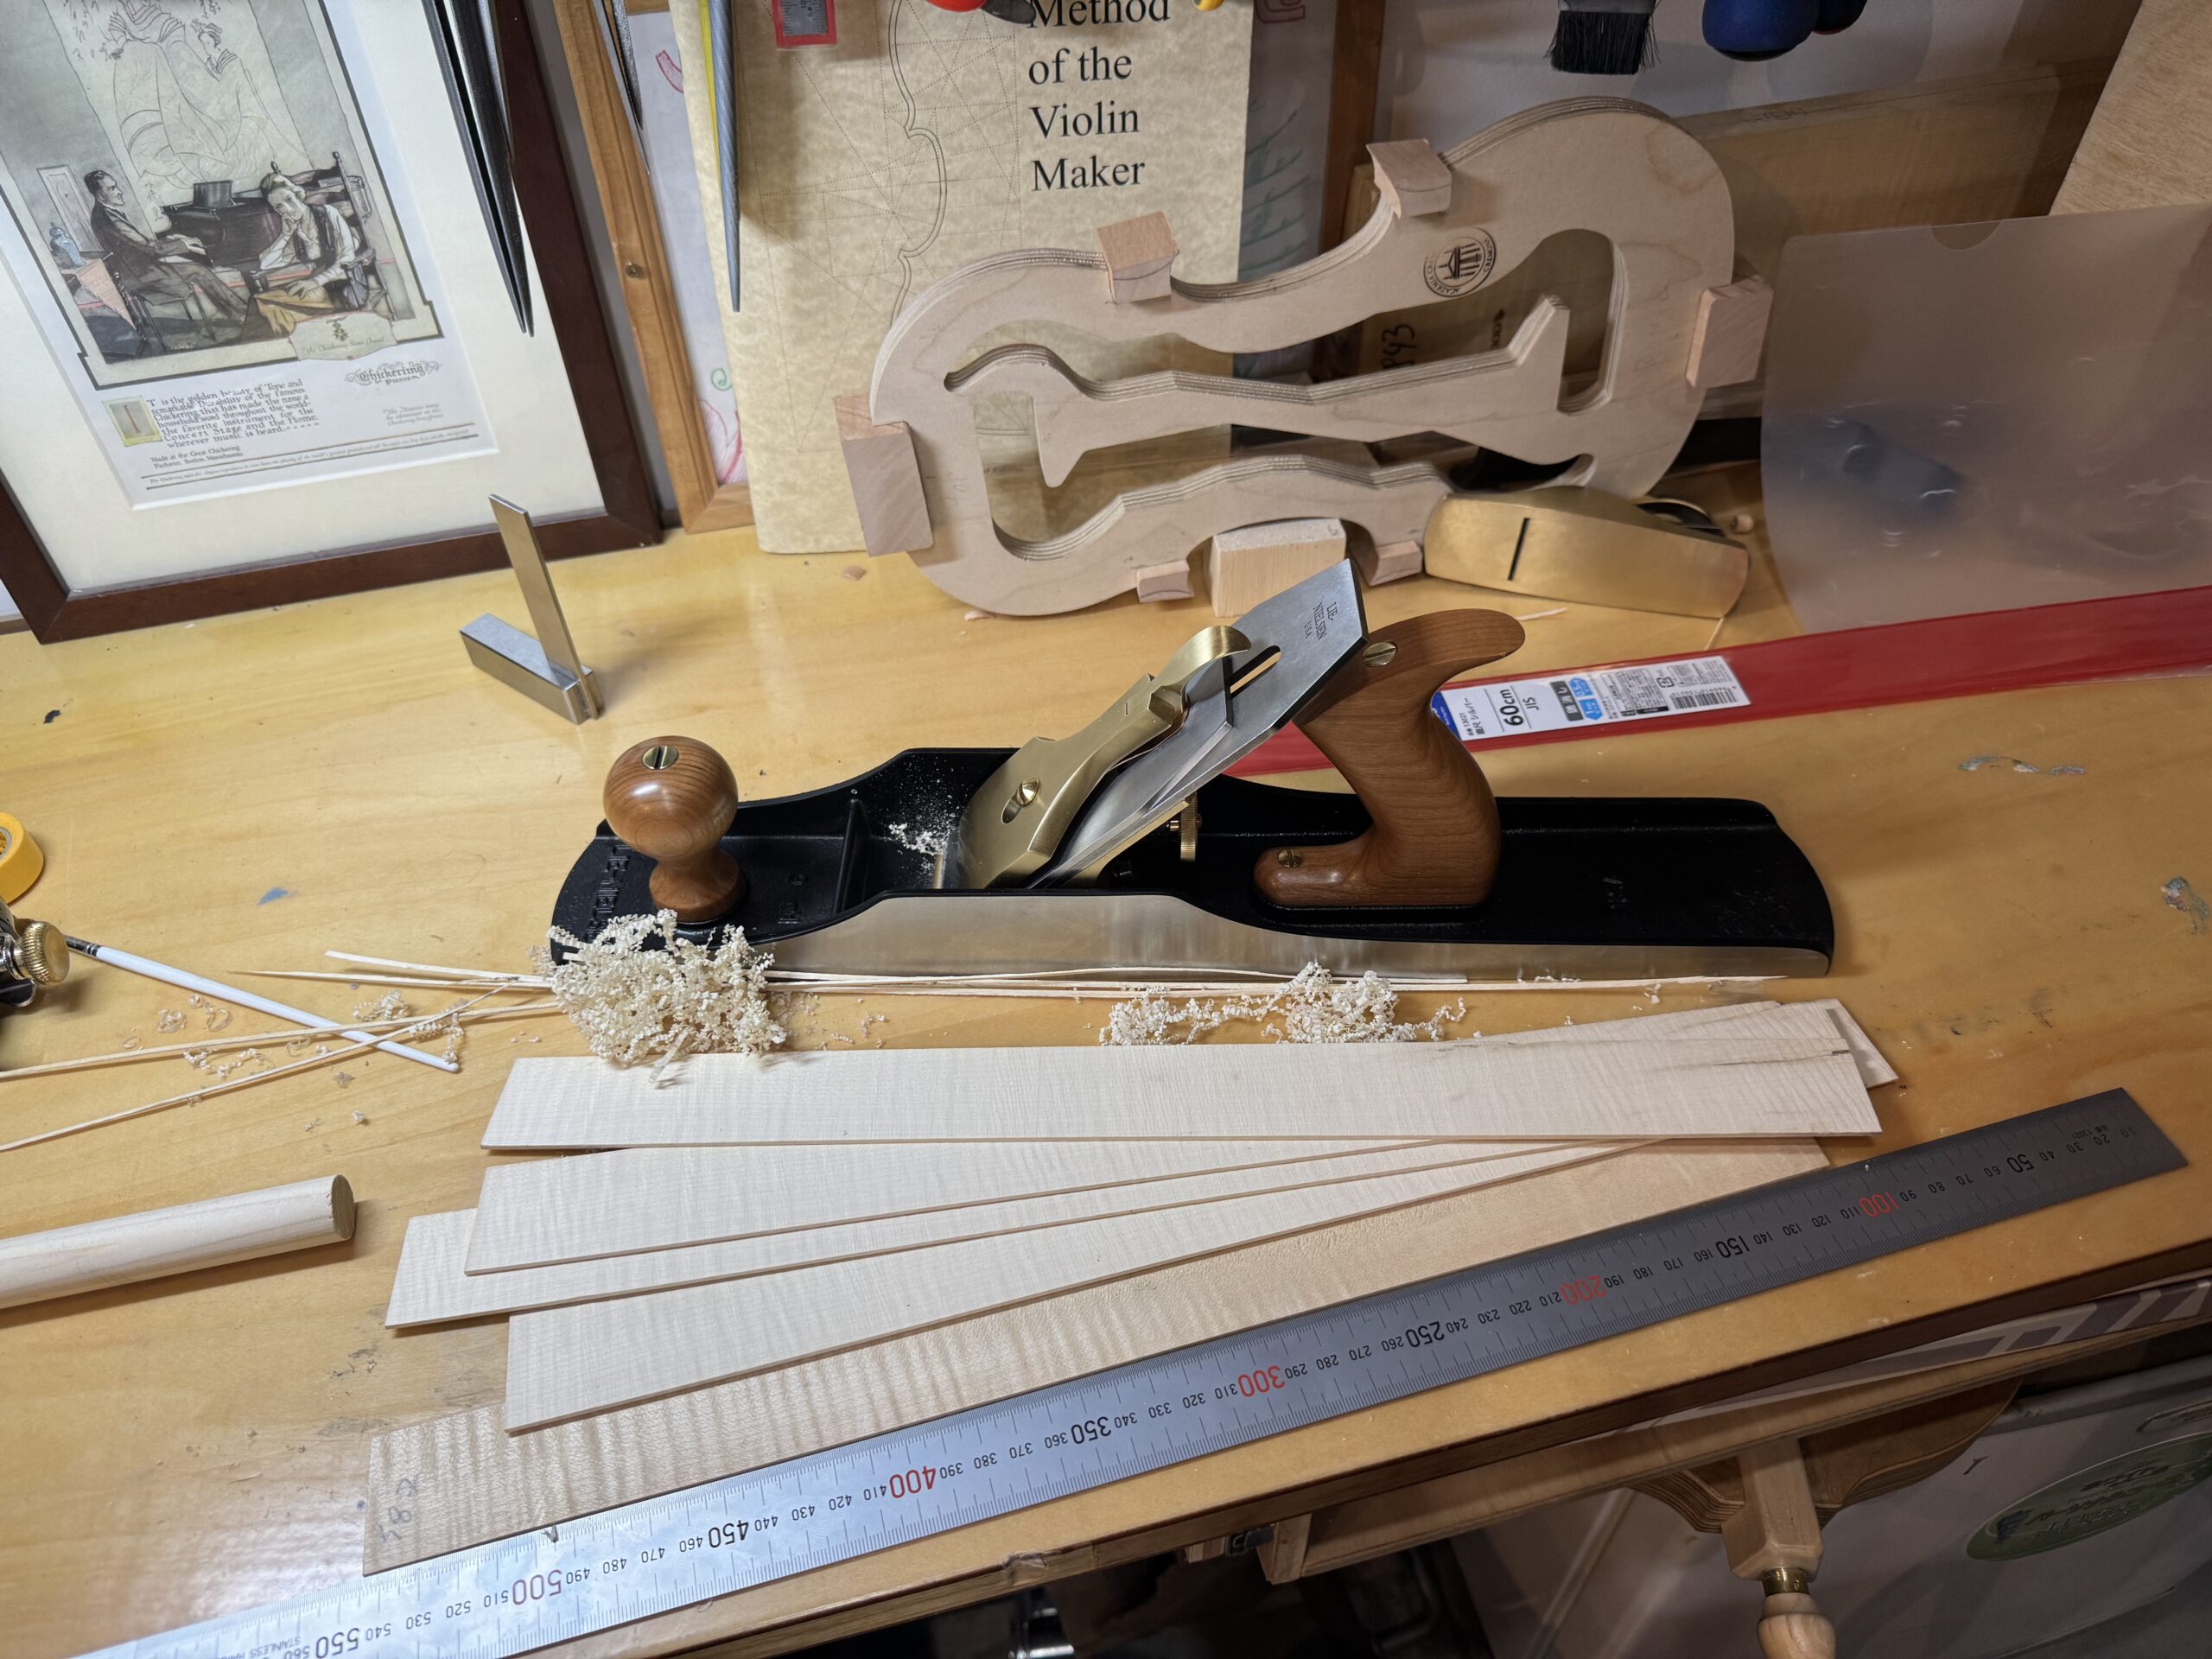
The Rib Width
Cutting the C bout corner blocks is done. Now moving on to the ribs. Cutting the edge of the ribs and plaining. I normally don’t really insist the quality of tools because I believe the final skill relies on the hands. Good tools may assist to have good result, but it’s more important to adapt…
Written by
-
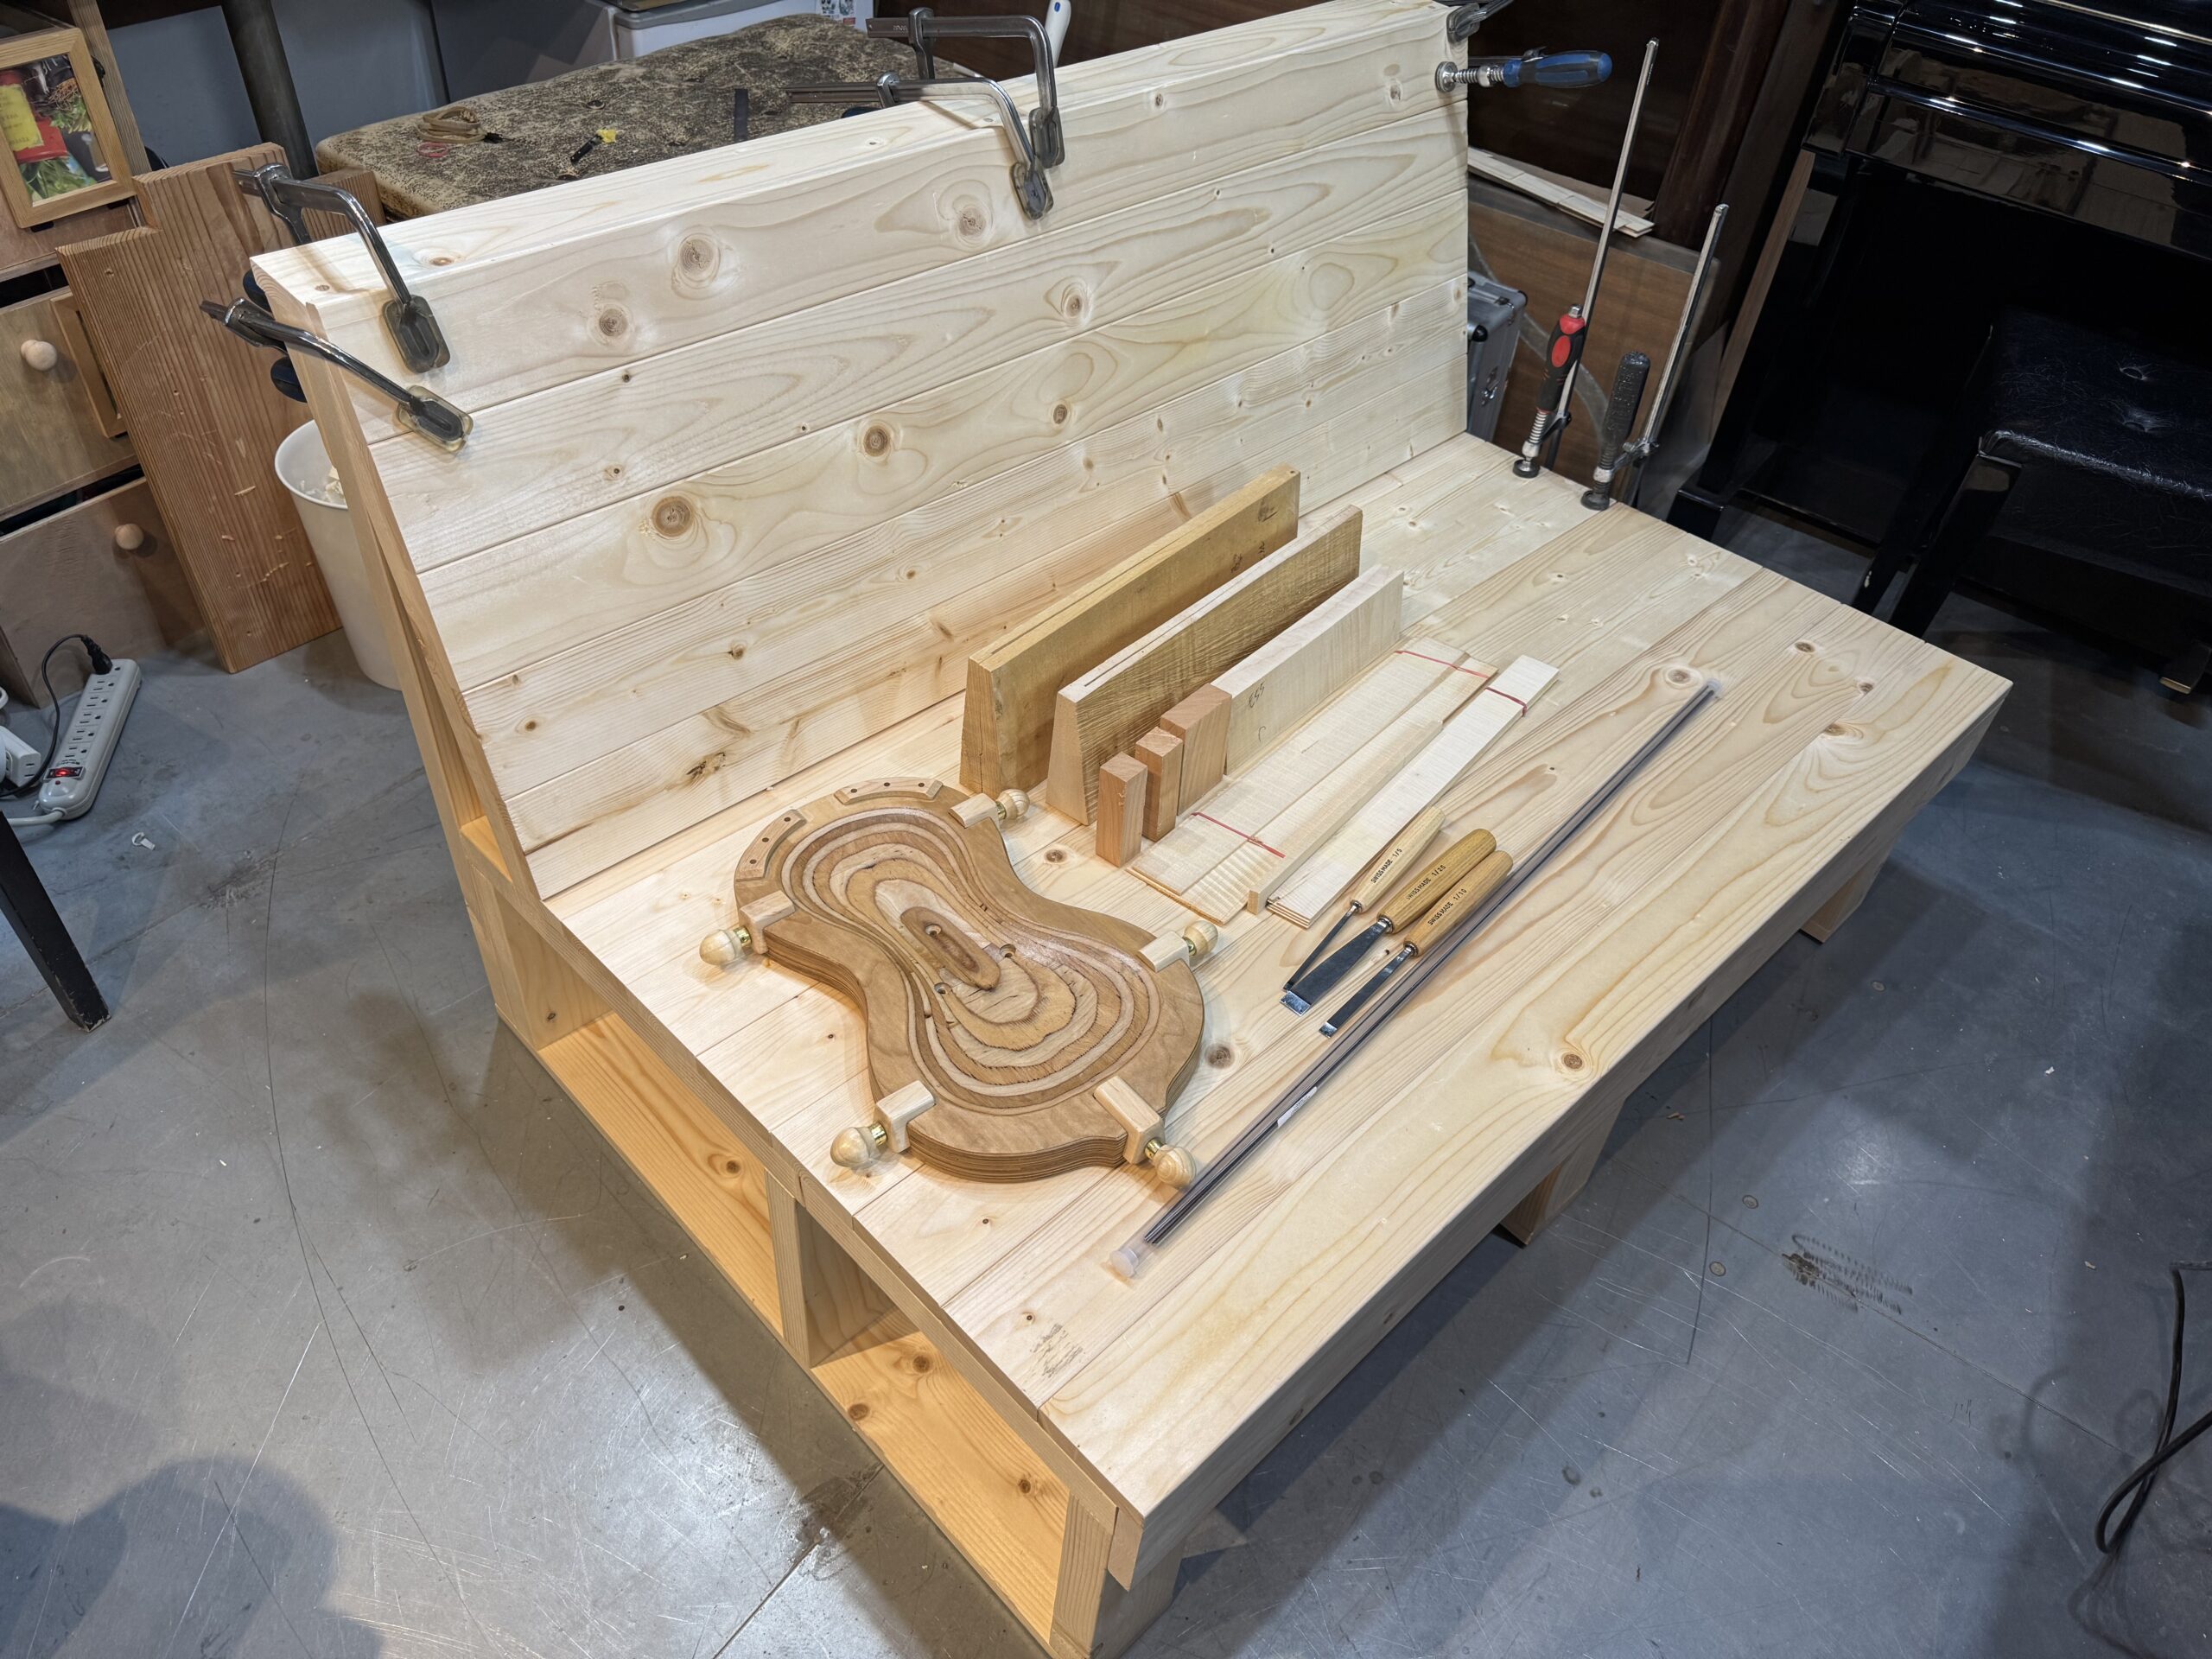
This time is real, no more rehearsal
I’ve been away from the violin making for a while. Now I’m happy I’m back! A luthier in Tokyo advised me to go ahead with the real tonewood instead of practicing with the similar wood from the home center. So I’m doing it this time. I’m also practicing the orchestra music. It takes time since…
Written by

-
Chisels and spare tonewoods
I wish I could get everything from one store so that would be easier and faster! But it’s impossible because no one is perfect. So I had to choose one from here and the other from there and so on… It took a while, but the researches for violin making tools is almost there to…
Written by
-
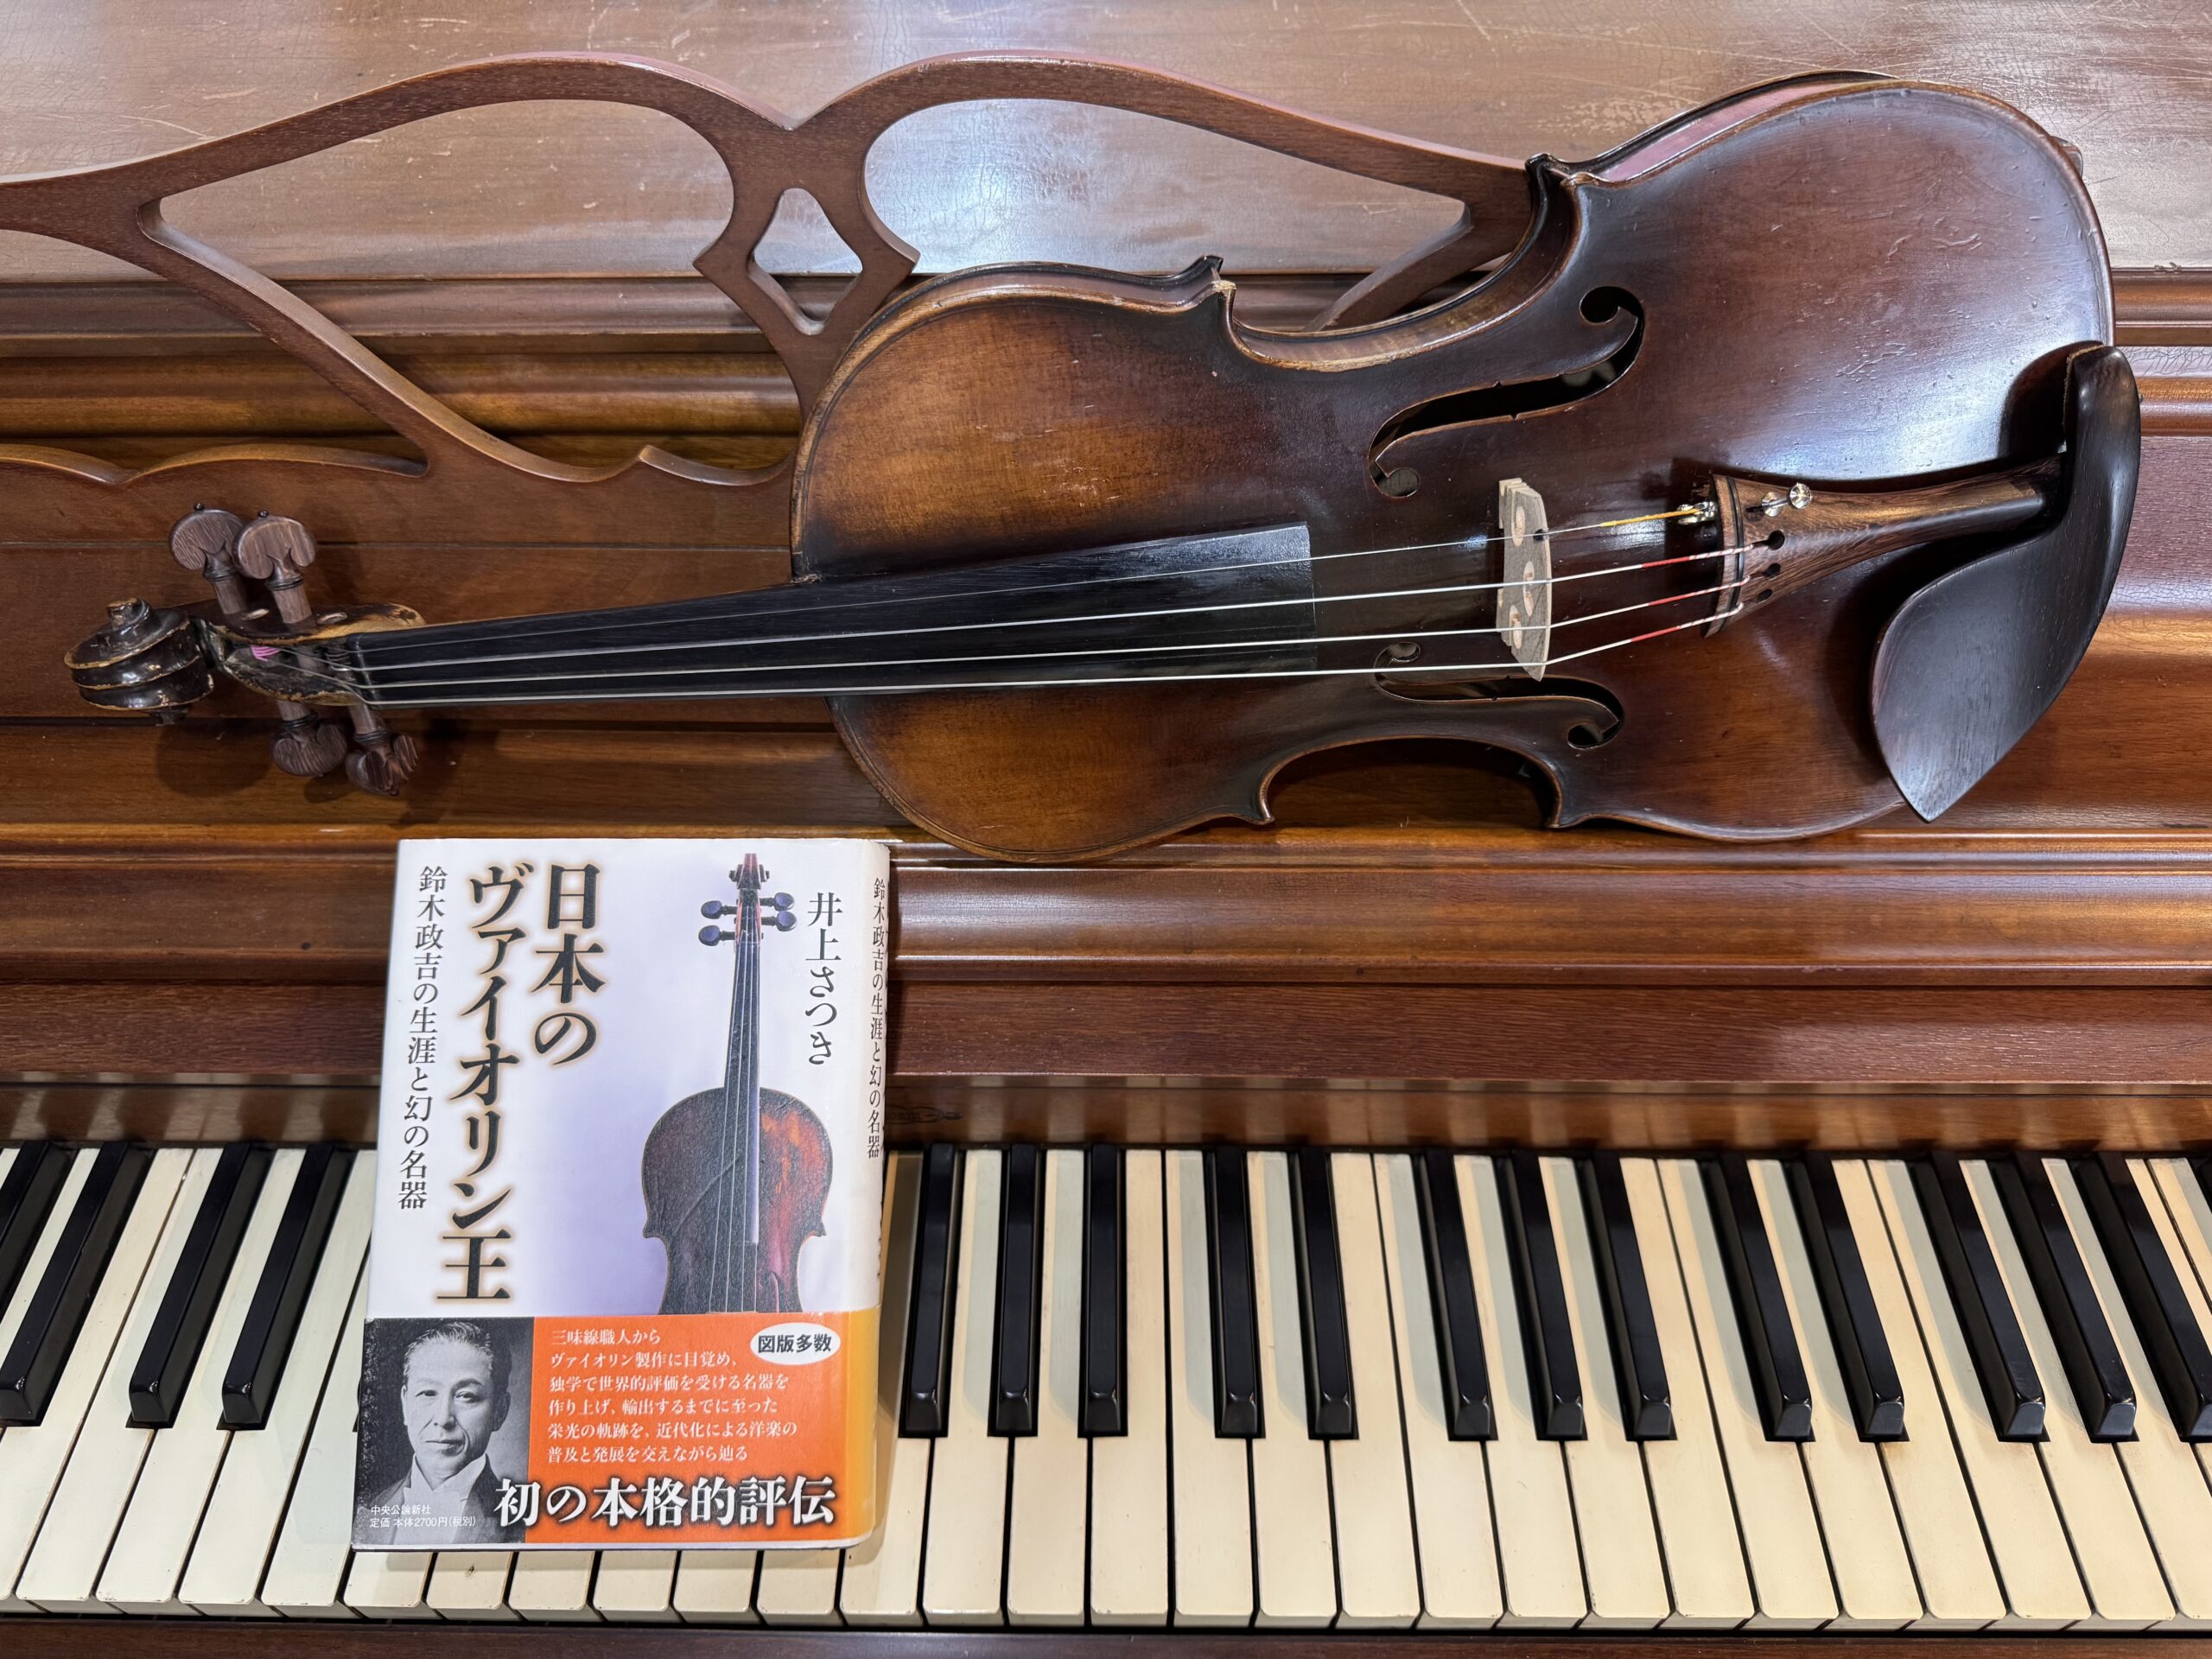
Masakichi Suzuki Biography
I’m a fan of old Suzuki violins made in early 1900’s. When I started looking for my personal instrument, I assumed that old Japanese violins were good because the Japanese pianos made in 1950’s and 1960’s are really nice from my experience as a piano technician. My expectation was not quite accurate with the historical…
Written by
-
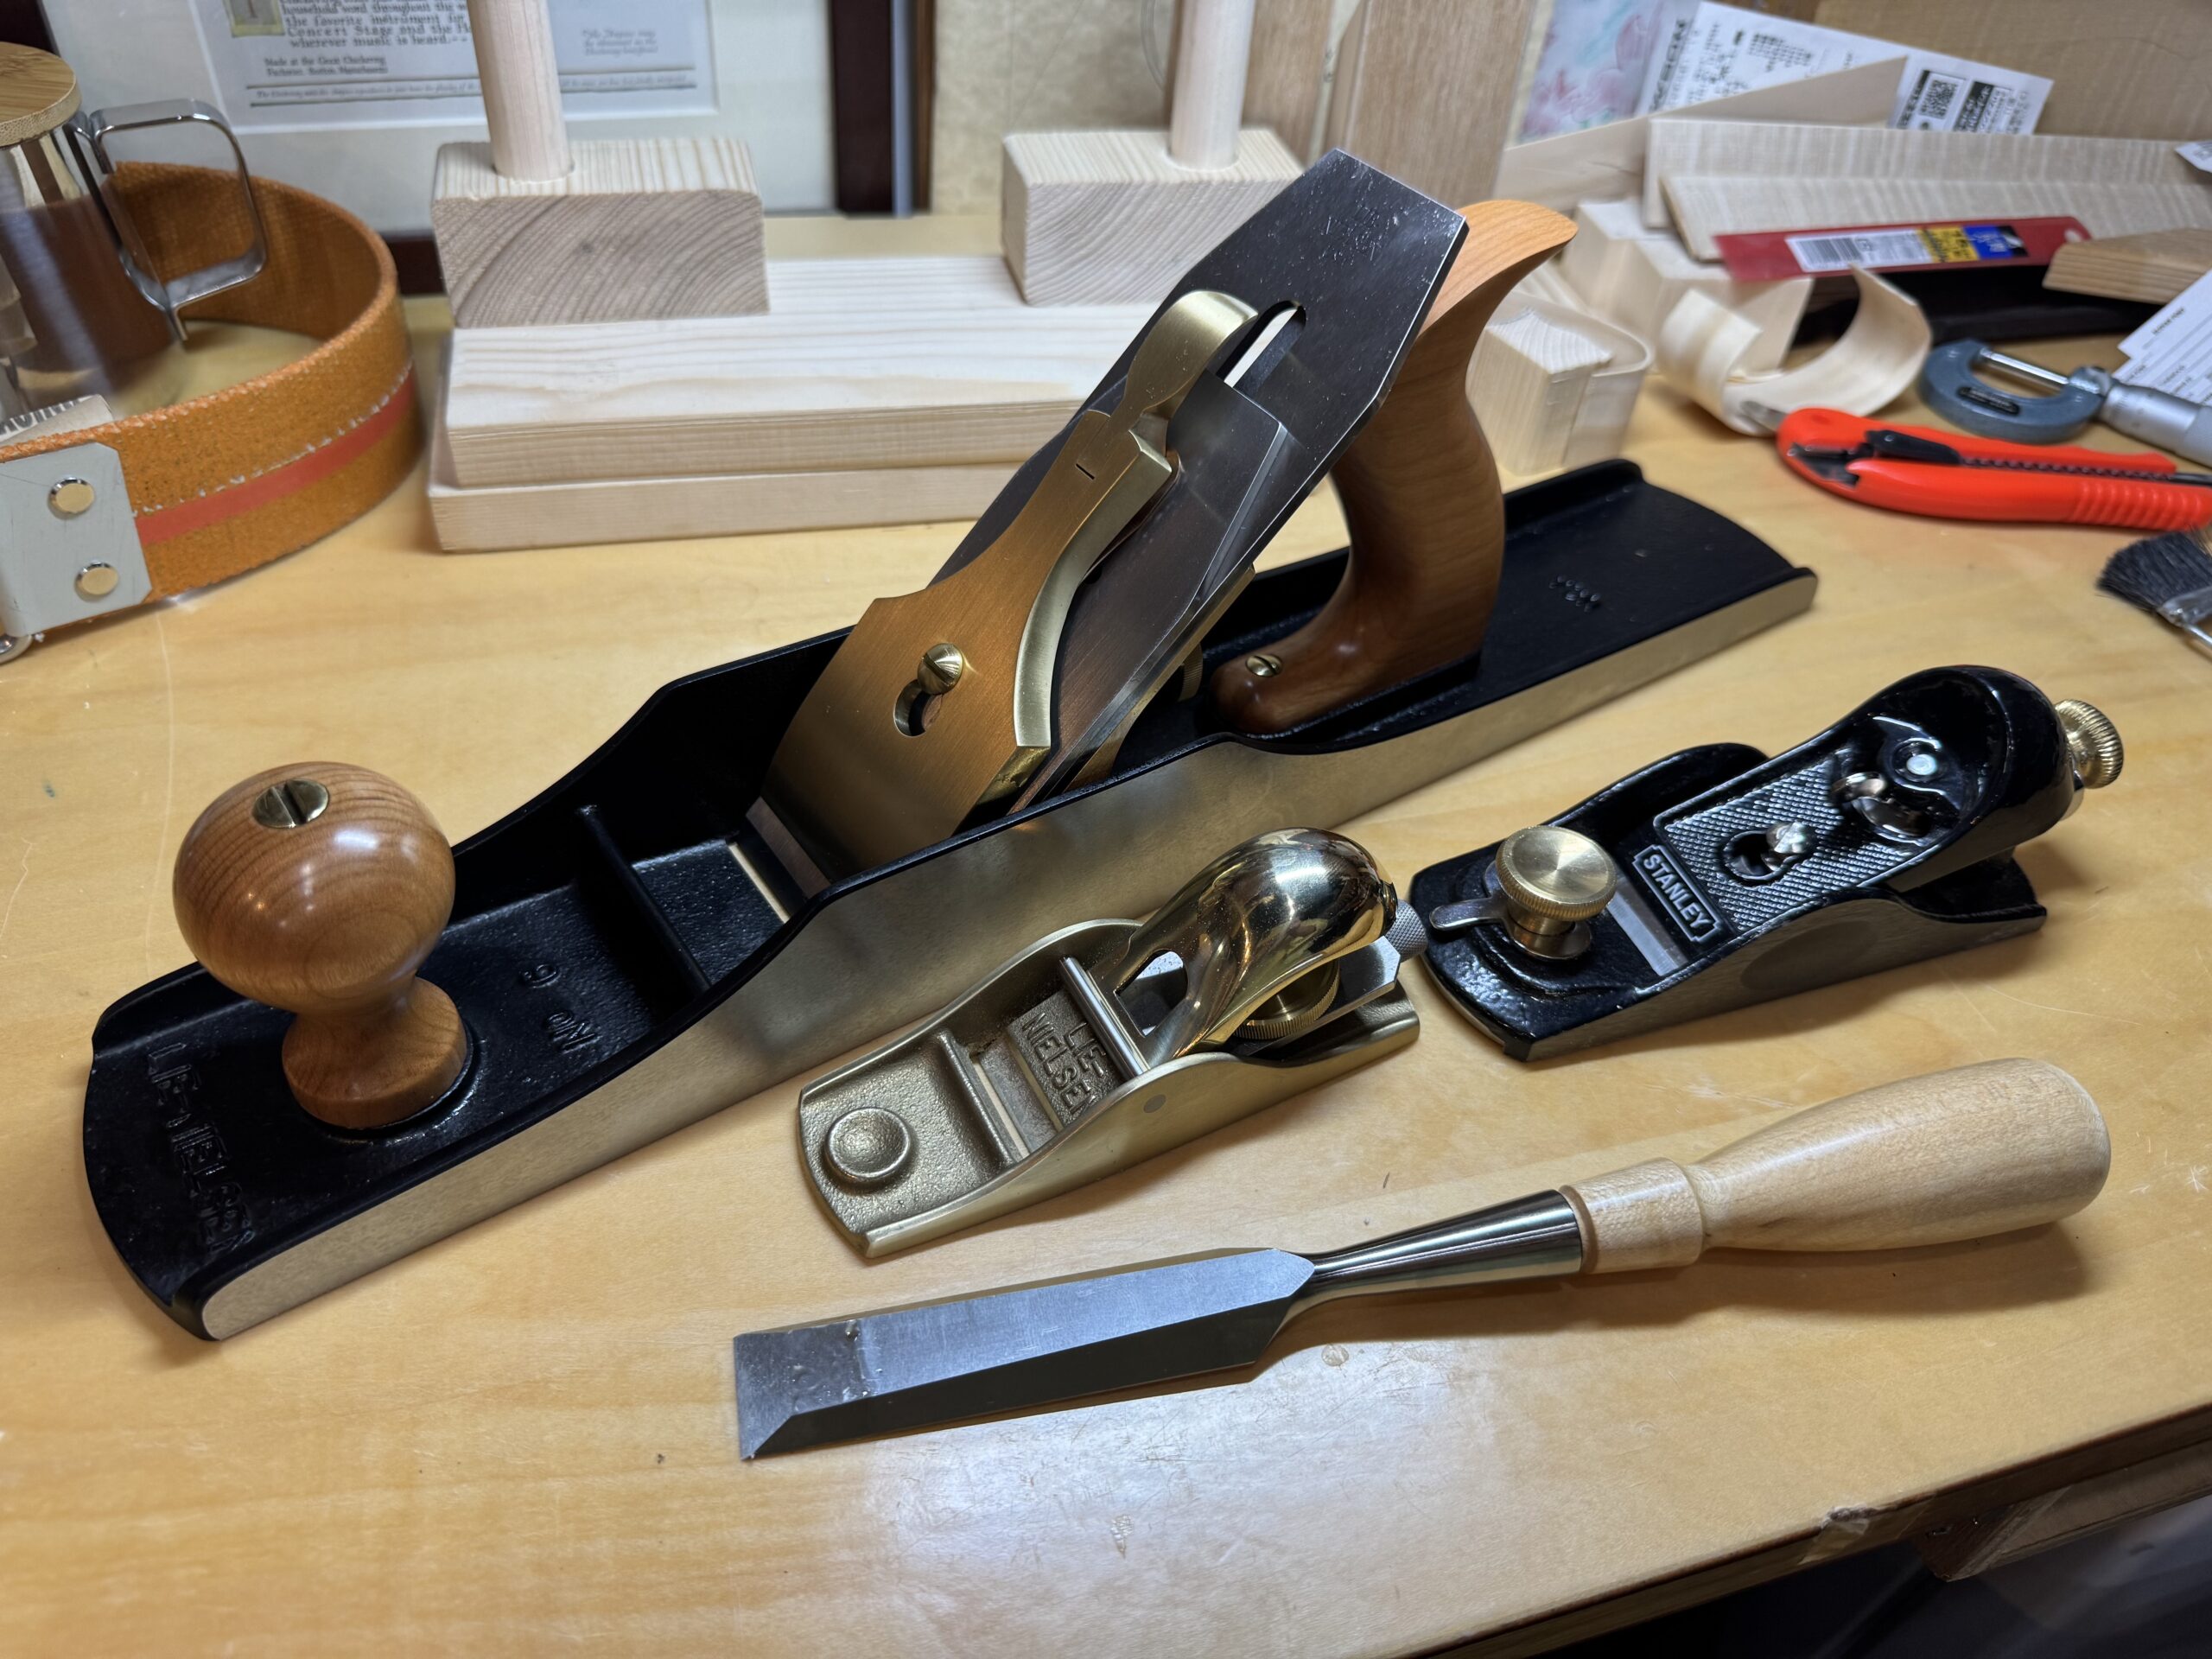
Additional Planes
Although my first block plane, Stanley 6-1/4 in BAILEY® Low Angle Block Plane, seemed to be OK, i wasn’t sure if I could flatten a wide plate with it. So I started to think a bench plane would be necessary. この投稿をInstagramで見る Kaccho’s Violin(@kacchovn)がシェアした投稿 Many violin making superiors says Stanley was the most popular back in…
Written by